
To tighten your kitchen sink faucet handle, check underneath for a set screw using a screwdriver or Allen key. Carefully disassemble the handle by prying off any covers, removing the set screw, and cleaning all parts thoroughly. Apply a thread locker to the screw, reassemble the handle, and tighten it gently. Make sure everything fits snugly to prevent leaks. If you want to explore more tips on maintaining your faucet, there's much more to discover!
Key Takeaways
- Inspect the faucet handle for a securing tab and locate the set screw underneath for tightening.
- Use an Allen key to tighten the screw without overtightening to avoid damage.
- Clean any grease or debris from the handle and screw area before reassembly.
- Apply a small amount of thread locker to the screw threads for a more secure fit.
- Regularly check the faucet handle for wear and maintain cleanliness to extend its lifespan.
Identifying the Problem
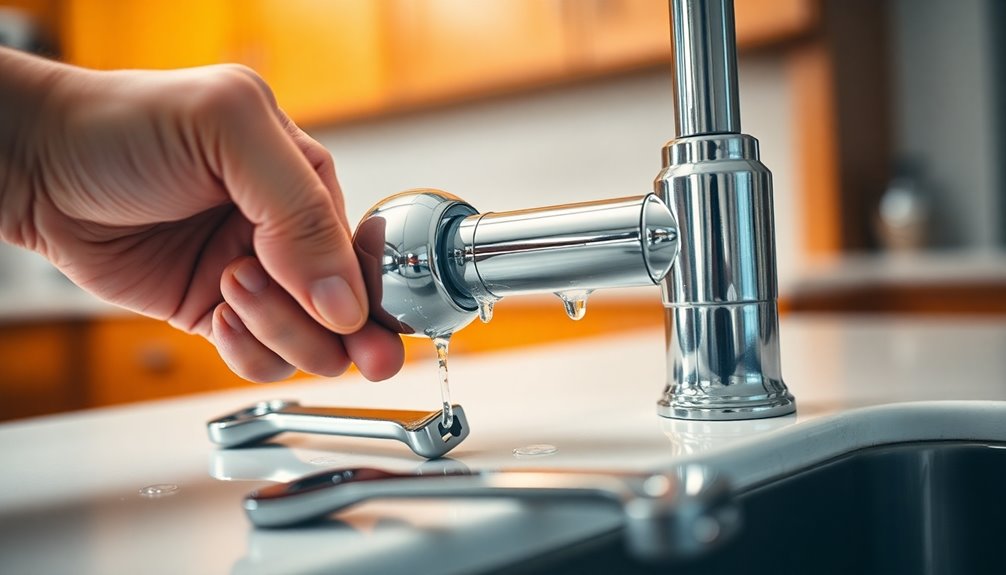
A loose kitchen sink faucet handle can be a frustrating problem that needs your attention. If you notice the handle coming loose, it's vital to identify the problem before it escalates.
Start by inspecting the area underneath the faucet handle. You might find a securing tab that needs to be pried off for better access. Look for the set screw that holds the handle in place; this is often the culprit.
If it's loose, the handle may not function properly and could even fall off. Properly identifying the issue now can save you from unnecessary water leaks or damage later.
Don't wait too long—addressing this issue quickly is vital to maintaining your faucet's integrity.
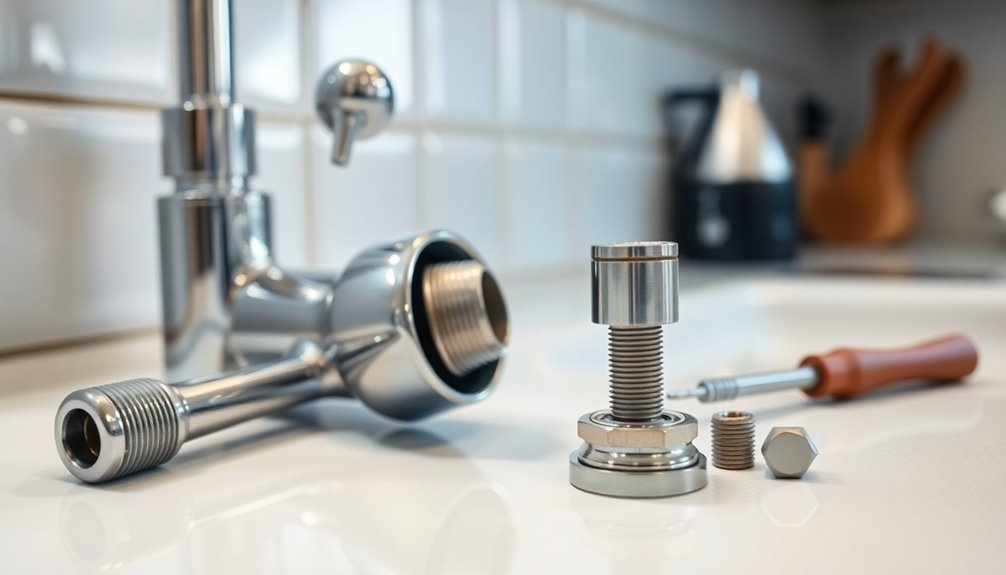
Tools Required for Repair

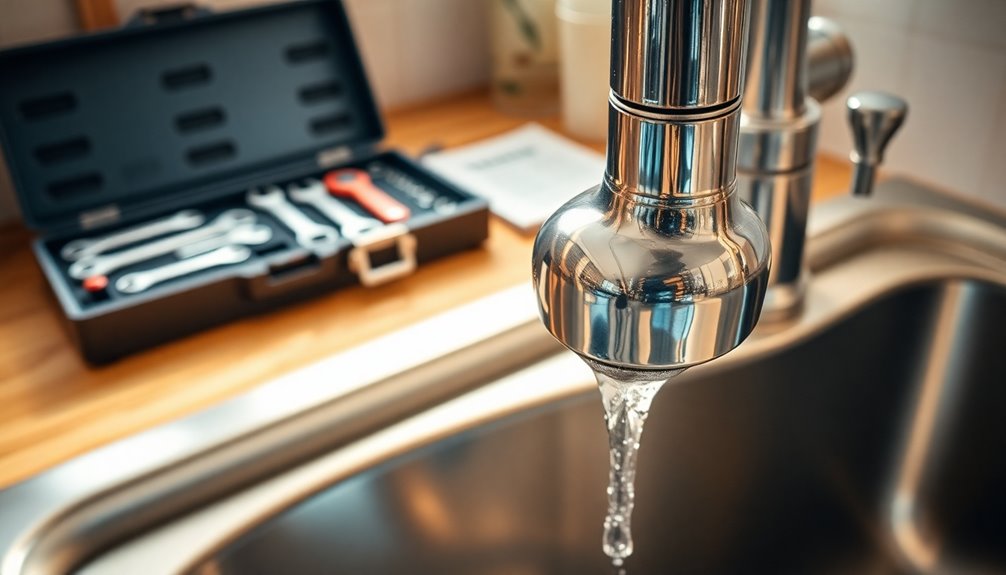
When you're ready to tighten your kitchen sink faucet handle, having the right tools on hand makes the process smoother and more efficient.
You'll need a set of screwdrivers, including both flathead and Phillips head, to remove decorative caps and adjust screws. Assorted Allen keys are essential for tightening the set screw that secures the handle to the faucet shaft.
A utility knife may be handy for carefully prying off any protective covers without causing damage.
Don't forget your cleaning supplies, like a rag and degreaser, to wipe away grease and debris from screws and internal components before putting everything back together.
Having these tools ready will guarantee a successful repair!
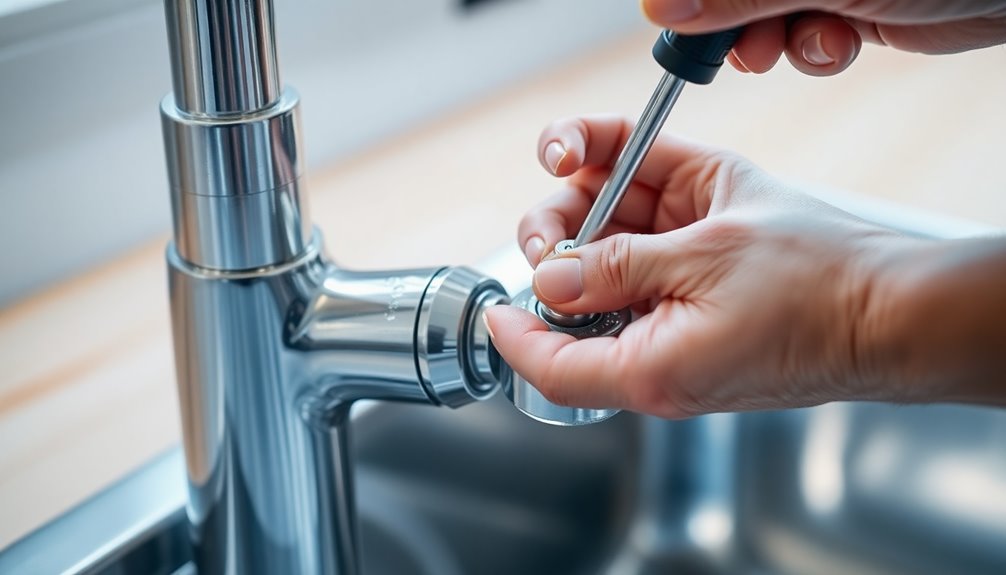
Disassembling the Handle
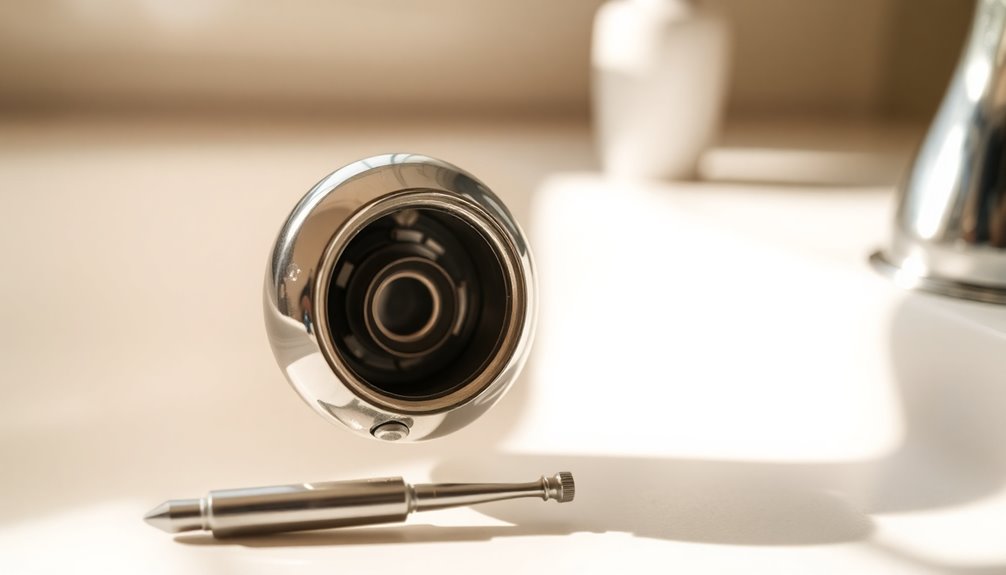
Start by carefully prying off the decorative cover of the faucet handle with a flat screwdriver or utility knife. This exposes the securing screw.
Next, locate the Allen key screw inside the handle; it should be easily accessible now. Unscrew it to detach the handle from the kitchen faucet.
Make sure you've got a catch in place, like a towel or bowl, to prevent any small parts from falling into the sink or down the drain during disassembly.
Be cautious while handling the components to avoid damaging the handle or the faucet fixture.
Once everything is apart, you can clean the screw and surrounding areas thoroughly to prepare for reassembly.
Cleaning and Preparing for Reassembly
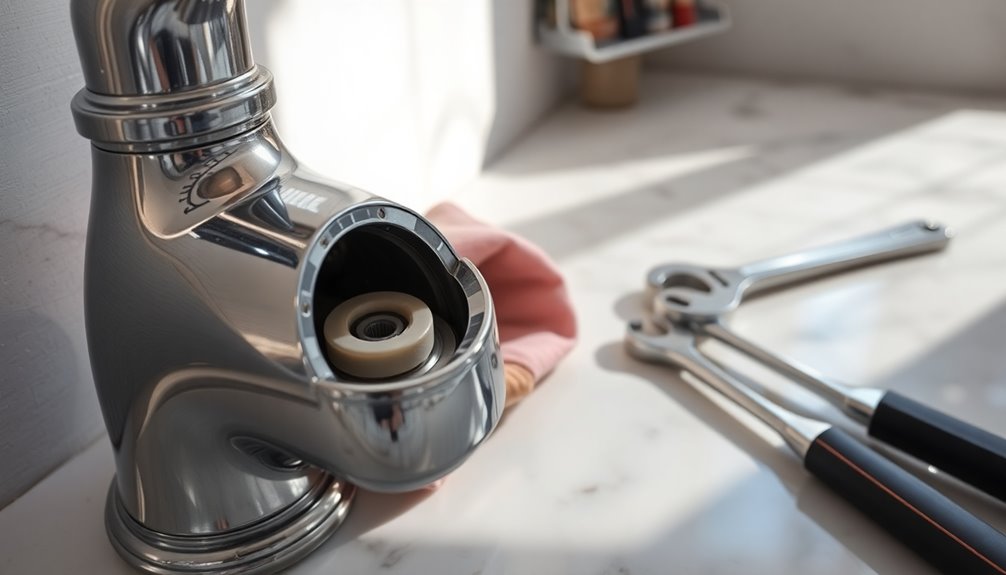
Cleaning the screw and surrounding areas is essential for a successful reassembly of your kitchen sink faucet handle. Make sure you remove any grease or debris that might interfere with a secure fit.
Use a degreaser to clean all internal components thoroughly, making certain you're able to see all dirt and grime. This step helps achieve a tight seal when you reassemble the handle.
Once everything's clean, apply a small amount of Loctite or thread locker to the threads of the Allen screw, as this prevents it from loosening over time. Just remember, a little goes a long way—too much might create issues.
Confirm all components are free of contaminants to guarantee the faucet handle functions properly and lasts longer.
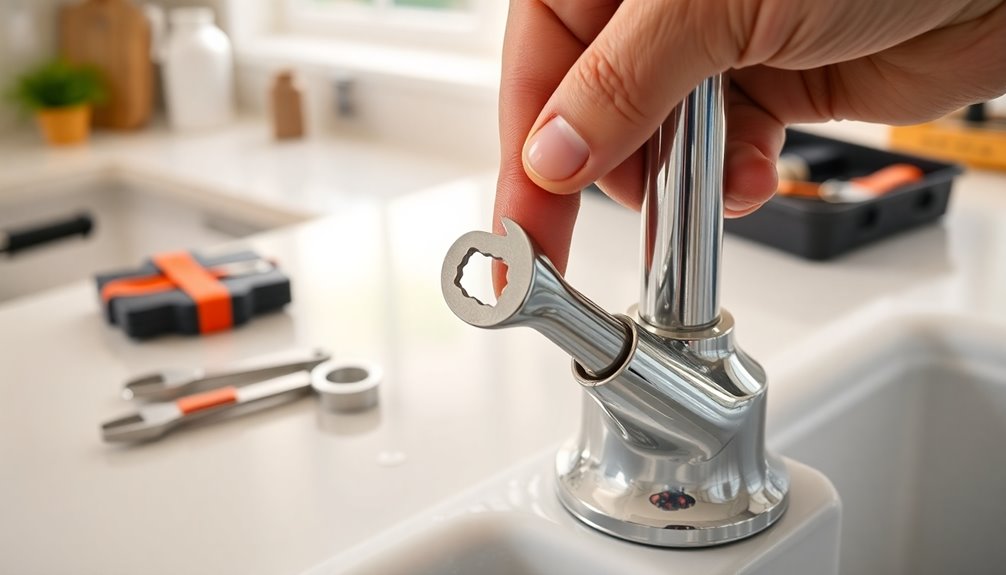
Reassembling the Handle
To reassemble the kitchen sink faucet handle effectively, first insert the cleaned Allen screw back into its designated slot.
Gently tighten the screw, being careful not to break the white metal or overtighten, as this could damage the components.
After securing the screw, go back and reattach the cover tab, guaranteeing it fits snugly without any gaps.
Wipe off any excess grease or debris from the handle and the surrounding area to maintain cleanliness and functionality.
If you used a thread locker like Loctite, allow it to dry completely before using the faucet.
This will guarantee the handle remains secure during operation, preventing any future issues.
Checking for Proper Function
After tightening the faucet handle, it's essential to check how it operates.
Turn the handle on and off to assess its movement and guarantee it feels smooth without any resistance.
Then, observe the water flow to confirm it's steady and consistent, indicating everything's working properly.
Test Water Flow
Once you've tightened the faucet handle, it's important to check the water flow to verify everything is functioning properly.
Start by turning on the water supply and operating the faucet. You should notice a smooth, uninterrupted flow without any squeaking sounds.
Pay attention to the water pressure; a strong, consistent flow indicates the handle is secure. Test both the hot and cold settings to confirm there are no temperature fluctuations.
If you see any drips or leaks from the handle, it might mean you need to make further adjustments.
Regularly monitoring the water flow helps catch any emerging issues early, assuring your kitchen faucet performs efficiently and lasts longer.
Assess Handle Movement
How smoothly does your kitchen sink faucet handle move? A properly functioning handle should glide effortlessly without any resistance or wobbling.
If you notice it feels loose or has excessive play, it might need tightening or could indicate deeper issues. Pay attention to any unusual noises like squeaking or grinding; these sounds often signal that the handle or cartridge requires attention.
- You deserve a hassle-free cooking experience.
- A smooth handle can save you from future leaks.
- Don't let a stubborn faucet disrupt your daily routine.
Regularly inspecting your handle's movement is essential. If it doesn't return to its original position after use, address the problem promptly to avoid leaks or complications down the line.
Troubleshooting Common Issues

While dealing with a loose kitchen sink faucet handle can be frustrating, identifying the root cause is crucial for effective troubleshooting.
Start by checking for improper installation or stripped screws, which might be the culprits. Inspect under the handle for a securing tab; you can pry it off with a screwdriver to access the set screw.
Use the right tools—Allen keys, flathead, or Phillips head screwdrivers—to tighten that set screw securely.
If the handle remains loose after this, examine the cartridge or shaft for issues, as they can affect stability.
Addressing these problems promptly helps prevent further damage and guarantees your faucet works smoothly.
Maintenance Tips for Faucet Longevity
To keep your faucet in top shape, establish a regular inspection schedule to catch any issues early.
When cleaning, use proper techniques to remove grease and debris, which can hinder performance.
Staying on top of these tasks will help extend your faucet's lifespan and maintain its functionality.
Regular Inspection Schedule
A well-maintained kitchen sink faucet can save you time and money in the long run. To guarantee your faucet stays in top shape, regularly inspect the handle every three to six months. This way, you can catch any looseness before it turns into a bigger issue.
Listen for squealing sounds when adjusting the temperature; they might indicate maintenance or internal component replacement is necessary. Don't forget to check that the decorative caps on the handles are secure, as they can hide important set screws.
- Protect your investment from costly repairs.
- Experience a smoother, quieter operation.
- Enjoy peace of mind knowing your faucet's in great condition.
Keep a maintenance log to track your efforts!
Proper Cleaning Techniques
Maintaining a clean kitchen sink faucet is just as important as regularly inspecting it. You should clean the faucet handle and surrounding areas with a degreaser to eliminate grease and grime buildup that can hinder functionality.
After each use, grab a soft cloth to wipe down the handle; this prevents water spots and mineral deposits from forming.
Don't forget to check the screws and securing mechanisms for debris or corrosion, which can affect a tight fit. When reassembling, apply a small amount of Loctite or thread locker to the screw threads to keep connections secure.
Finally, inspect the faucet handle periodically for any wear or damage, addressing issues promptly to extend its lifespan.
When to Seek Professional Help

If your faucet handle stays loose despite your best tightening efforts, it might be time to call in a professional. This could mean there's a deeper issue at play.
Persistent squeaking or trouble adjusting the water temperature may indicate a cartridge failure. Visible damage to the faucet shaft or threads can also require expert repair.
Consider reaching out for help if you notice:
- Stripped screws that could lead to further damage
- Incompatible components that make DIY fixes frustrating
- A lifetime warranty on your Moen faucet that needs proper handling
Getting a professional involved guarantees a thorough diagnosis and prevents costly mistakes, so don't hesitate to seek assistance when you need it.
Frequently Asked Questions
How Do You Tighten a Loose Sink Faucet Handle?
To tighten a loose sink faucet handle, start by turning off the water supply and clearing out the space under the sink.
Next, carefully remove any decorative caps to reveal the securing screw.
Use the right tool, like a hex wrench or screwdriver, to tighten the screw clockwise.
After you've tightened it, test the handle by moving it to the on position to guarantee it's secure and stable.
If it's still loose, further inspection is necessary.
How to Fix a Stiff Kitchen Faucet Handle?
You twist the kitchen faucet handle, but it just won't budge. Frustration builds as you realize something's wrong.
First, check for any mineral buildup or debris around the handle—give it a good clean. If that doesn't work, remove the handle and inspect the internal parts for damage.
A silicone-based lubricant might do the trick. If all else fails, it could be time for some replacement parts.
Don't let that stubborn handle win!
Why Does My Kitchen Faucet Keep Coming Loose?
If your kitchen faucet keeps coming loose, it's likely due to a few common issues.
You mightn't have tightened the securing screws enough during installation, or they could be worn out.
Check if the handle is properly seated on the cartridge shaft, as improper seating can lead to loosening.
Regular maintenance, like tightening screws and inspecting components, can help prevent this problem from recurring.
Don't ignore these steps to keep your faucet secure!
Why Does My Kitchen Faucet Handle Keep Falling Down?
Did you know that nearly 30% of homeowners experience issues with their kitchen faucet handles?
If your faucet handle keeps falling down, it's likely due to a loose set screw or improper installation. Sometimes, a cartridge failure can also cause this problem.
You might need to tighten the screws or check for stripped threads. If the handle remains loose despite your efforts, consider inspecting or replacing the cartridge to guarantee a secure fit.
Conclusion
To sum up, tightening your kitchen sink faucet handle is a straightforward task that can enhance your kitchen's functionality. Did you know that a leaky faucet can waste over 3,000 gallons of water a year? By following these steps, not only do you fix the issue, but you also contribute to water conservation. Regular maintenance can save you money and prevent future problems. So, tackle that faucet today and enjoy a tighter handle and a more efficient kitchen!