
Before cutting into your drywall for in-ceiling speakers, plan carefully. Measure and mark the exact spots, avoiding joists, ductwork, or wiring. Choose the right speaker type for your room size and acoustic needs, and verify ceiling weight capacity. Use proper wiring techniques, and gather all tools beforehand. Avoid rushing or damaging structural elements, and double-check everything. If you keep these tips in mind, you’ll ensure a smooth install and great sound performance.
Key Takeaways
- Confirm the exact speaker placement and measurements before marking drywall to ensure proper fit and coverage.
- Check ceiling structure and support to prevent damage and ensure secure installation of the speakers.
- Clear the area of obstacles like ductwork, wiring, or joists that could interfere with cutout placement.
- Use proper tools and safety equipment to make clean cuts and avoid damage to drywall or underlying components.
- Double-check electrical wiring and power sources before cutting to ensure safety and proper system connection.

Earthquake RK-C8 V2 New Construction Rough-in Kit for 8-Inch Ceiling Speakers, One Pair
Compatible with All Earthquake Sound 8" In-Ceiling Speakers: The RK-C6 v2 rough-in kit accommodates 8" speakers with a…
As an affiliate, we earn on qualifying purchases.
As an affiliate, we earn on qualifying purchases.
Understanding the Types of In-Ceiling Speakers and Their Benefits
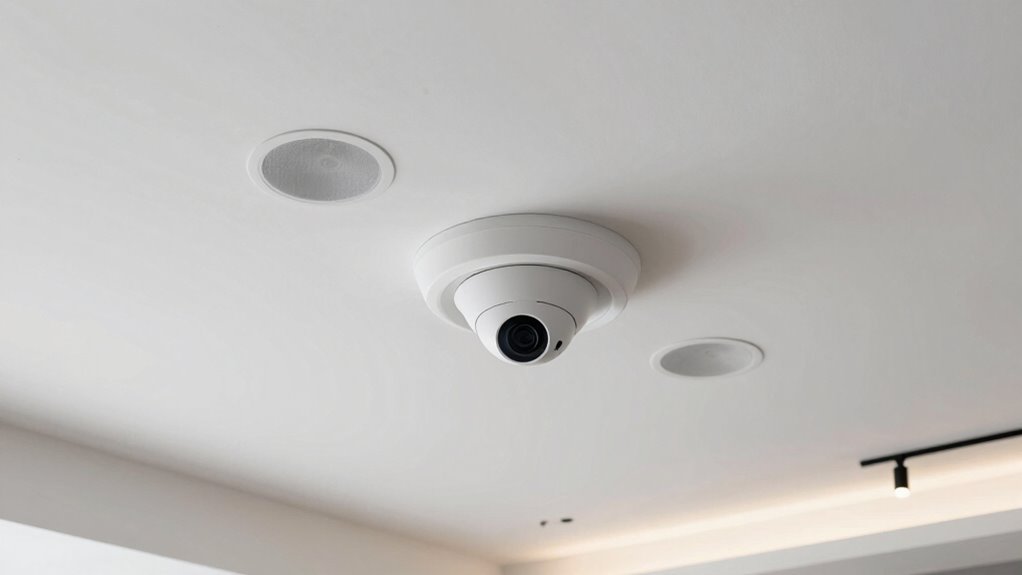
Understanding the different types of in-ceiling speakers is essential to choosing the right option for your space. Speaker types vary mainly between full-range, which deliver complete sound from one unit, and component systems that split highs, mids, and lows into separate speakers. Full-range models are simple to install and cost-effective, making them ideal for general use. Component systems offer better sound quality, especially for high-fidelity audio, but require more space and installation effort. The benefit comparison helps you determine what’s most important: convenience and affordability or superior sound performance. Additionally, understanding speaker configurations can help you optimize audio quality based on your room’s acoustics and layout. Recognizing the installation considerations is also crucial, as some systems may need more precise placement or additional components to achieve optimal sound. By understanding these types and their advantages, you can select the in-ceiling speakers that best match your needs and guarantee an ideal listening experience. Vetted

JBL 8128 | Full-range In-Ceiling Loudspeaker (4 speakers)
As an affiliate, we earn on qualifying purchases.
As an affiliate, we earn on qualifying purchases.
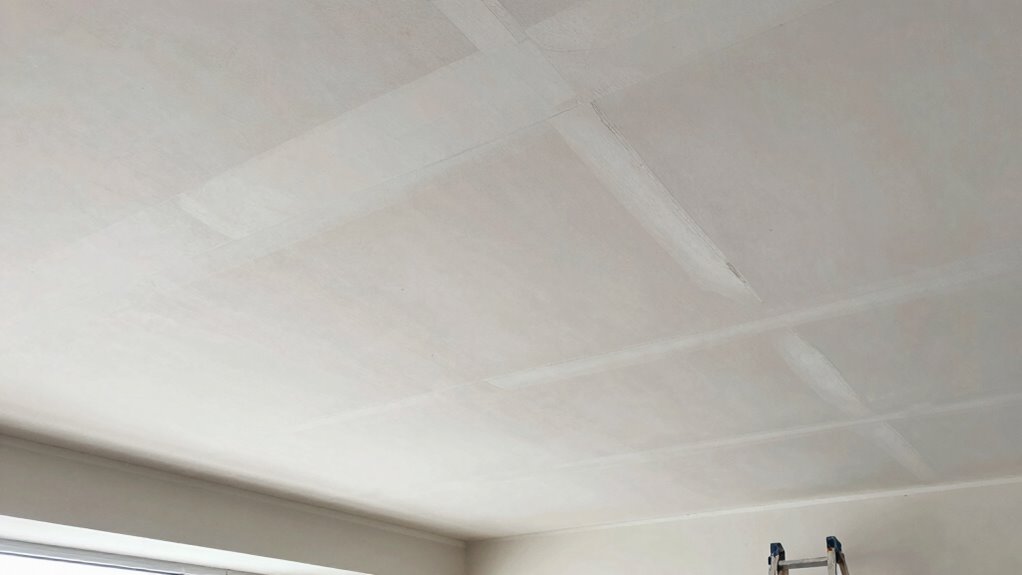
Planning Your Room: Acoustic and Structural Factors to Consider
Before installing in-ceiling speakers, it’s crucial to evaluate your room’s acoustic and structural characteristics. Poor acoustics can cause sound distortion or echo, so consider adding acoustic treatments like diffusers or absorbers to improve sound clarity. Assess the room’s structural integrity to support the speakers; you might need structural reinforcement if the ceiling isn’t sturdy enough to hold the weight. Check for obstacles such as ductwork, wiring, or joists that could interfere with speaker placement. Proper planning helps guarantee ideal sound quality and prevents costly modifications later. Additionally, understanding your room’s acoustic environment can help you optimize speaker placement for the best sound experience. Taking these factors into account allows you to install your in-ceiling speakers confidently, knowing your room’s structure and acoustics support both sound performance and safety. To ensure long-term durability, also consider ceiling material compatibility when planning your installation. Analyzing the existing ceiling framework will help identify potential challenges and ensure a secure setup. Additionally, evaluating sound absorption properties of your ceiling materials can further enhance sound quality and minimize unwanted reflections.

Earthquake RK-C6 V2 New Construction Rough-in Kit for 6.5-Inch Ceiling Speakers, One Pair
Compatible with All Earthquake Sound 6.5" In-Ceiling Speakers: The RK-C6 v2 rough-in kit accommodates 6.5" speakers with a…
As an affiliate, we earn on qualifying purchases.
As an affiliate, we earn on qualifying purchases.
How to Choose the Best In-Ceiling Speakers for Your Space
Choosing the right in-ceiling speakers depends on your room size, so you get clear, even sound everywhere. You should also consider sound quality features that match your listening needs and preferences. Don’t forget to balance your budget and explore brand options to find the best fit for your space. Additionally, understanding speaker placement techniques can significantly enhance your overall listening experience. Proper speaker positioning ensures optimal sound distribution and can make a noticeable difference in audio clarity and immersion. Consulting with professional services can provide tailored advice to optimize your setup. Being aware of home automation compatibility can also help integrate your speakers seamlessly into your smart home system. Furthermore, considering measurement tools can help you assess and fine-tune your speaker setup for the best performance.
Room Size Compatibility
Selecting the right in-ceiling speakers for your space depends heavily on room size. Larger rooms require speakers with higher wattage and broader sound dispersion, while smaller rooms benefit from more focused speakers. Consider these factors:
- Room dimensions: Measure ceiling height and overall size to determine if you need more powerful speakers or multiple units.
- Wall insulation: Thick insulation can dampen sound; opt for speakers with higher sensitivity to compensate.
- Ceiling height: Higher ceilings might need speakers with wider dispersion angles to fill the space evenly.
- Speaker placement: Proper placement ensures balanced sound, especially in rooms with varying sizes or shapes.
- Market options: Choosing from Gold IRA markets and trusted brands can help you find speakers optimized for your room’s characteristics.
Matching your speakers to your room size ensures excellent sound coverage and avoids dead spots or overpowering sound.
Sound Quality Features
To guarantee your in-ceiling speakers deliver clear, balanced sound, focus on key sound quality features such as driver type, frequency response, and sensitivity. Sound clarity depends heavily on the driver, with larger drivers typically providing richer bass and better overall fidelity. Pay attention to the speaker’s frequency response; a wider range ensures you hear more detail across lows, mids, and highs. Sensitivity indicates how loud the speaker will get for a given power input—higher sensitivity means more volume with less power. When selecting your speakers, prioritize those with a broad frequency response and high sound clarity to enjoy immersive, accurate audio in your space. Additionally, considering the advanced technology and design of modern in-ceiling speakers can significantly enhance sound performance and durability. Incorporating speaker placement strategies can also optimize your sound experience for different room layouts. Understanding sound quality features can help you make informed choices to match your specific needs. For example, modern designs often incorporate innovative materials that improve sound clarity and longevity. Modern in-ceiling speakers also utilize improved driver technology, which can lead to even better sound reproduction. This way, your in-ceiling speakers will perform at their best, providing high-quality sound for music, movies, and more.
Budget and Brand Options
Finding the right in-ceiling speakers within your budget means balancing quality and brand reputation. Budget options vary widely, so it’s essential to compare brands and features carefully. Here are four tips to help you choose:
- Set a clear price range to narrow your options.
- Look for reputable brands known for durability and sound quality.
- Compare brand options based on customer reviews and expert ratings.
- Prioritize features like wattage and impedance that fit your space and system needs.
- Additionally, consider speaker placement to ensure optimal sound distribution and performance in your room.

Focusound 52 Pack Acoustic Foam Panels 1" x 12" x 12" Sound Proof Foam Panles Soundproofing Noise Cancelling Wedge Panels for Home Office Recoding Studio with 300PCS Double-Side Adhesive
Soundproofing – Acoustic foam panels triangular grooves structure for better noise absorption, helps to reduce and absorb unwanted…
As an affiliate, we earn on qualifying purchases.
As an affiliate, we earn on qualifying purchases.
Wiring and Installing In-Ceiling Speakers Made Easy
Wiring and installing in-ceiling speakers doesn’t have to be complicated if you follow a straightforward approach. Start by choosing the right wire gauge; thinner wire (like 16 or 18 gauge) works for shorter runs, while thicker wire (14 or 12 gauge) is better for longer distances to prevent signal loss. Plan your speaker placement carefully to ensure even sound coverage and avoid obstructions. Use the table below to help visualize key considerations:
| Wire Gauge | Speaker Placement |
|---|---|
| Thinner (16/18) | Near the center of the room |
| Thicker (14/12) | Near corners or walls |
| Match length to wire gauge | Avoid placing speakers behind furniture |
Additionally, selecting a perfect fit living approach can help streamline your installation process and ensure a seamless integration with your home environment. Properly matching your wiring to the speaker placement is essential to achieve optimal sound quality. Remember to consider speaker impedance when planning your wiring to prevent potential issues with your audio system. Taking into account the appropriate tools and safety precautions is essential to prevent mishaps and achieve professional results.
Common Installation Challenges and How to Avoid Them
Installing in-ceiling speakers can be tricky if you don’t measure carefully, so double-check your spots before cutting. Using proper wiring techniques helps prevent connection issues or damage, saving you time later. To avoid structural damage, be mindful of joists and pipes, and use the right tools for a clean, safe installation.
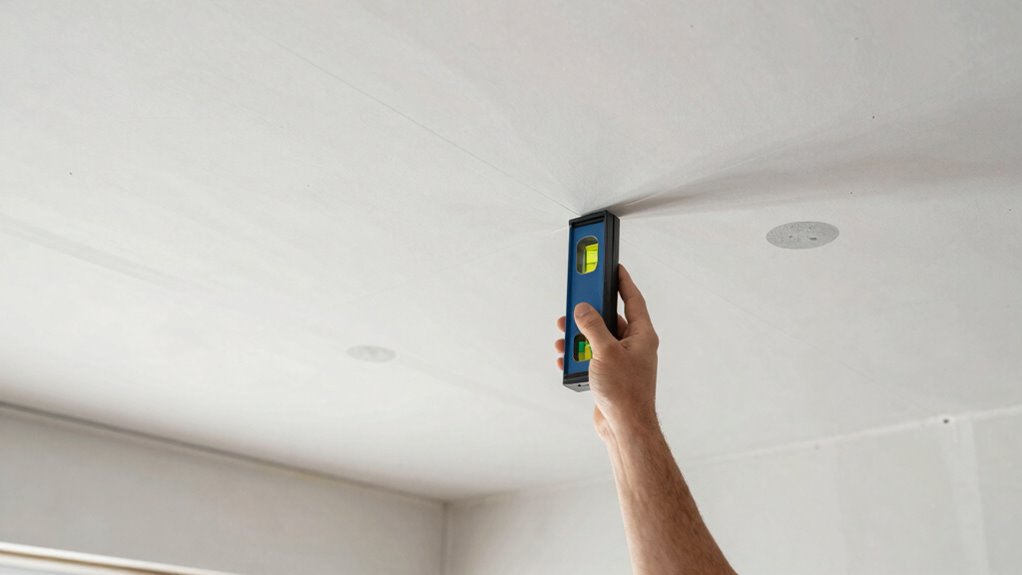
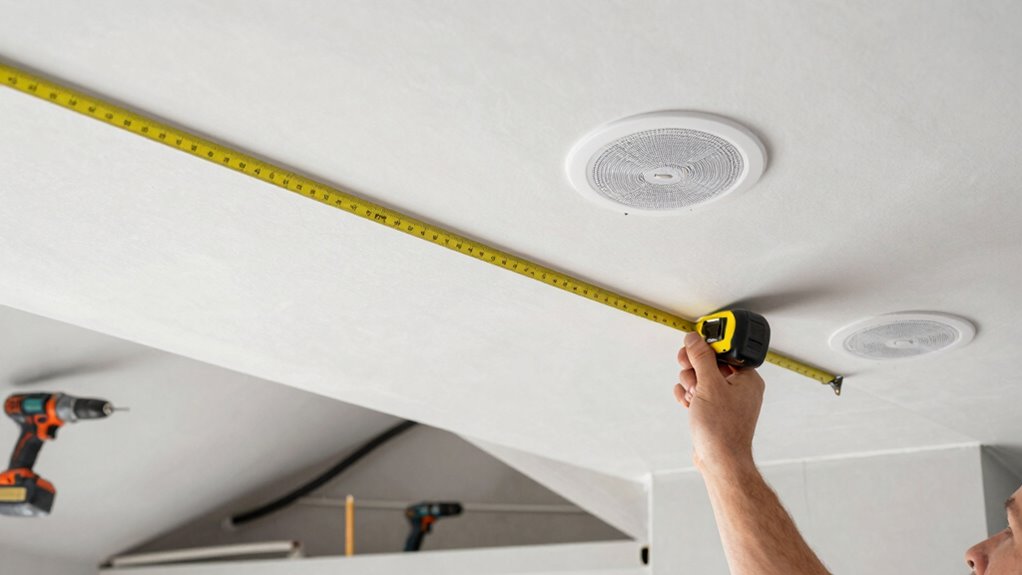
Accurate Measurement Techniques
Accurate measurement techniques are essential for ensuring in-ceiling speakers deliver ideal sound quality and seamless integration. Precise measurement accuracy helps prevent misaligned speakers and uneven sound distribution. To achieve this, focus on your marking techniques to guarantee precision. Here are four key tips:
- Use a reliable measuring tape or laser level for exact dimensions.
- Double-check your measurements before marking to avoid errors.
- Mark the cutout outline clearly and consistently, ensuring symmetry.
- Confirm the placement with a template or compass to match speaker specifications.
Proper Wiring Methods
Careful wiring is essential to guarantee your in-ceiling speakers perform at their best and avoid common installation pitfalls. Start by choosing the correct wire gauge; thicker gauges like 14 or 12 AWG handle longer runs and higher power better. When routing wires, keep them away from electrical wiring and HVAC ducts to prevent interference and damage. Use proper techniques like securing wires neatly along joists and avoiding sharp bends that could damage the insulation.
| Wire Gauge Selection | Routing Techniques |
|---|---|
| Pick thicker gauge for longer runs | Keep wires away from power lines |
| Use 14-16 AWG for most installs | Secure wires with clips or staples |
| Avoid thin wire to prevent signal loss | Maintain gentle curves to protect insulation |
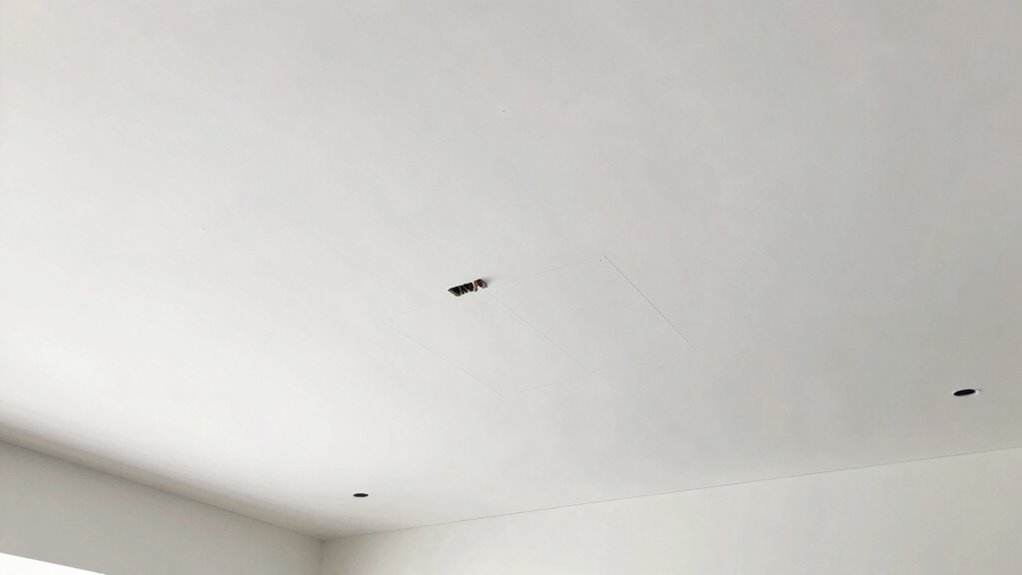
Avoiding Structural Damage
To prevent structural damage during installation, it’s crucial to understand the building’s framework and plan your cuts carefully. Identify load-bearing areas and locate ceiling joists using a stud finder before cutting. Cutting through a load-bearing ceiling joist can compromise the structure, so avoid this by double-checking your measurements. Here are four tips to help you prevent damage:
- Always confirm whether the wall or ceiling area is load bearing.
- Use a stud finder to locate ceiling joists precisely.
- Avoid cutting through load-bearing joists; instead, cut between them.
- If unsure, consult a structural engineer or contractor before proceeding.
Following these steps ensures your installation won’t weaken the ceiling or compromise safety.
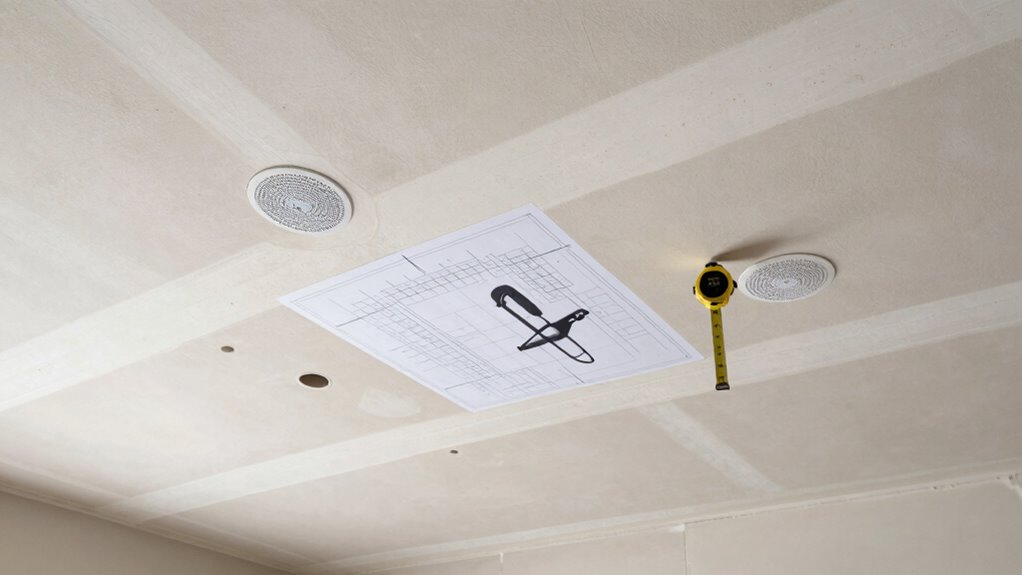
Final Checklist Before Cutting Into Your Ceiling
Before you start cutting into your ceiling, it’s crucial to double-check all your preparations to avoid costly mistakes. Confirm your speaker placement plans are accurate, guaranteeing each speaker is positioned for ideal sound coverage and minimal obstructions. Double-check measurements and mark the exact cutout spots on the drywall. Make sure your sound calibration has been completed in the designated listening areas, so you know the system will perform as intended once installed. Verify that your electrical wiring and power sources are correctly identified and safely accessible. Review your tools and safety equipment to prevent accidents. Finally, confirm you have all necessary components on hand—mounts, grills, and cables—so the installation proceeds smoothly without unnecessary delays. Proper preparation ensures a seamless, high-quality in-ceiling speaker setup.
Frequently Asked Questions
Can In-Ceiling Speakers Be Used Outdoors or in Humid Environments?
In-ceiling speakers are generally not designed for outdoor use or humid environments. You need speakers with outdoor durability and humidity resistance to withstand weather elements. If you want in-ceiling speakers for outdoor spaces, look for models specifically rated for outdoor durability, meaning they resist moisture, humidity, and temperature changes. Using standard in-ceiling speakers outdoors could lead to damage, poor sound quality, and a shortened lifespan.
What Are the Best Ways to Conceal Speaker Wires for a Clean Look?
To achieve wire concealment and enhance aesthetic integration, hide your speaker wires behind baseboards, crown molding, or use wire channels that match your wall color. You can also run wires through the ceiling or behind drywall, attaching them neatly along studs. Using in-wall or in-ceiling wire kits helps keep everything tidy, ensuring your setup looks clean and professional without visible wires.
How Do I Ensure Even Sound Distribution Across My Room?
To guarantee even sound distribution, focus on strategic speaker placement, positioning your in-ceiling speakers equidistant from the main listening area. Avoid placing them too close to walls or corners, which can cause sound distortion. Incorporate acoustic treatment, like diffusers or absorbers, to minimize reflections and dead spots. Experiment with angling speakers slightly toward your seating area, and test sound levels throughout the room, adjusting placement or acoustic treatment as needed for ideal uniformity.
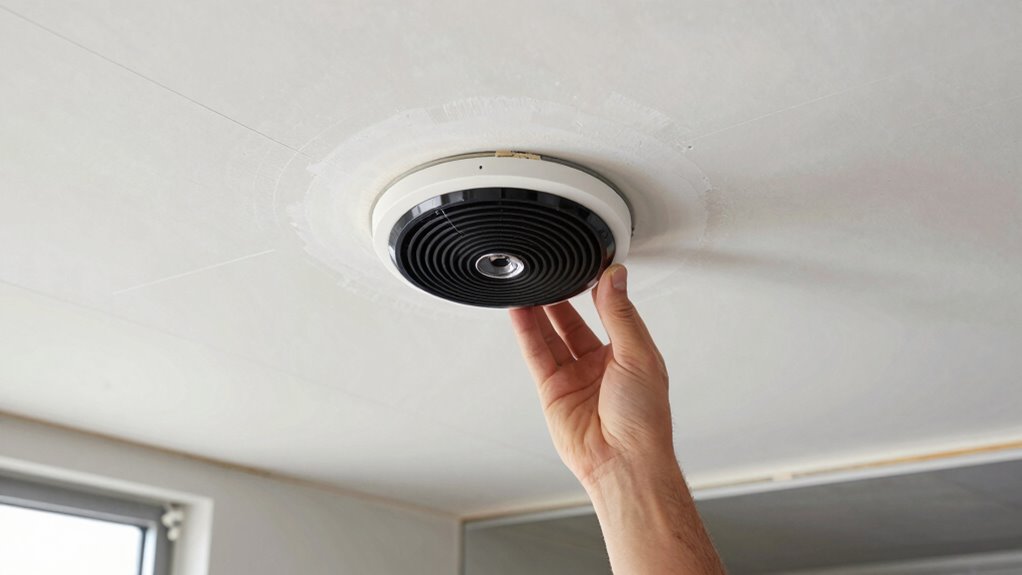
Are There Specific Tools Required for Installing In-Ceiling Speakers?
Think of installing in-ceiling speakers as planting seeds; you need the right tools to start strong. You’ll need a drywall saw to carefully cut the hole and mounting brackets to secure your speakers firmly. These tools ensure precision and stability, much like tending a garden. Using the proper drywall saw prevents unnecessary damage, while mounting brackets hold your speakers in place, guaranteeing clear sound and a professional finish in your space.
What Maintenance Is Needed After Installing In-Ceiling Speakers?
After installing your in-ceiling speakers, you should regularly clean the grilles to keep them looking and sounding their best. If your speakers have a speaker bulb, check it periodically and replace it if it burns out. Keep an eye on the wiring connections and guarantee the speakers stay secure. Routine maintenance like grille cleaning and speaker bulb replacement helps prolong their lifespan and maintain ideal audio quality.
Conclusion
Before you cut into your ceiling, remember you’re opening a gateway to sound paradise. With the right planning and careful installation, you’ll turn your space into a symphony of clarity and comfort. Think of it as planting the roots for a musical garden—once set, the melodies will flow effortlessly. So, take a deep breath, double-check your checklist, and make that first cut with confidence—your perfect soundscape is just a step away.