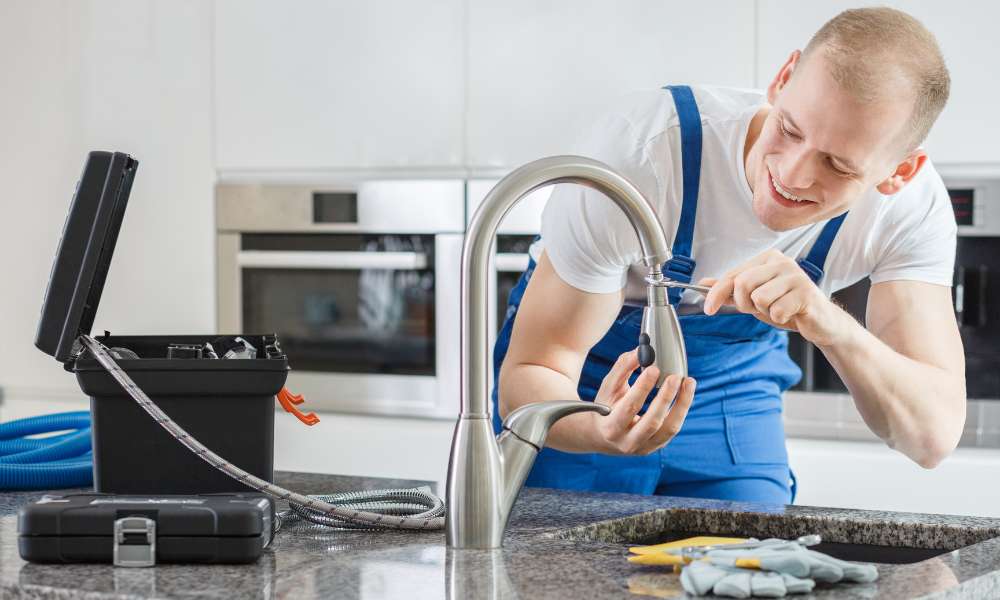
Installing a new kitchen faucet can instantly elevate the functionality and aesthetic appeal of your kitchen space. When it comes to choosing a reliable and stylish option, Moen faucets stand out as a top choice among homeowners and professionals alike. In this comprehensive guide, we will delve into the step-by-step process of install a Moen kitchen faucet with a sprayer attachment. Whether you’re looking to upgrade your current setup or embark on a renovation project, mastering the art of faucet installation can save you time and money in the long run.
Factors To Consider Before Installation
Before installing a Moen kitchen faucet with a sprayer, it’s crucial to consider several factors. These factors ensure that The installation process is smooth And hassle-free And that The new suits your specific requirements. To help you make an informed decision, let’s explore The essential factors you should take into account before embarking on The installation journey.
Faucet Style And Design
When selecting a kitchen faucet with a sprayer, it’s vital to consider The style And design that will complement your kitchen. Choosing a faucet that matches or complements your kitchen’s decor can significantly enhance The overall look And feel of The space. Whether you prefer a traditional, contemporary, or transitional design, Moen offers a diverse range of options to suit any aesthetic preference.
Sink Compatibility
The compatibility of The faucet with your sink is a crucial consideration. Ensure that The faucet you choose is compatible with The number And configuration of mounting holes in your sink. Additionally, check The spacing between The holes And The size to guarantee a proper fit. Moen provides a variety of options to accommodate different sink setups, including single-hole, three-hole, And four-hole configurations.
Sprayer Functionality
Another important factor to consider is The functionality of The sprayer. Evaluate whether you prefer a pull-down sprayer, pull-out sprayer, or side sprayer based on your washing And rinsing needs. The Convenience And flexibility offered by The sprayer can significantly impact your daily kitchen tasks, so it’s essential to select The option that best aligns with your preferences.
Gathering Necessary Tools And Materials
Gathering The necessary tools And materials is The first step in installing a Moen kitchen faucet with a sprayer. Having The right items at hand ensures a smooth And efficient installation process. Here’s a breakdown of The essential tools And materials you’ll need for The task:
Wrench
A wrench is a crucial tool for installing a faucet with a sprayer. It is used to tighten And secure The various components, such as The mounting hardware And water supply lines. Make sure to have an adjustable wrench or a set of wrenches that can accommodate different sizes to ensure you have The right tool for The job.
Plumber’s Putty
Plumber’s putty is a sealing compound that is used to create a watertight seal around The faucet’s base. This helps prevent it from leaking underneath And causing damage to The countertop or cabinet. When applying plumber’s putty, be sure to follow The manufacturer’s instructions carefully to achieve an effective seal.
Teflon Tape
Teflon tape, also known as PTFE tape, is an essential item for ensuring leak-free connections between threaded plumbing fittings. It is typically wrapped around The threads of fittings to create a tight seal And prevent it from seeping through. Having Teflon tape on hand will make The installation of The water supply lines And other fittings much more secure.
Bucket
Having a bucket on hand is essential for catching any water that may drip or splash during The faucet installation. It helps to keep The work area clean And prevents it from damaging The surrounding surfaces. Additionally, having a bucket nearby makes it easy to dispose of any old, rusty, or debris-filled water lines that may need to be removed during The installation process.
Shutting Off Water Supply And Clearing Workspace
When installing a Moen kitchen faucet with a sprayer, it’s crucial to start by shutting off The water supply And clearing your workspace. This not only ensures a smooth installation process but also minimizes The risk of any water-related mishaps. Here’s how you can go about preparing your kitchen for this task.
Locate Water Shut-off Valves
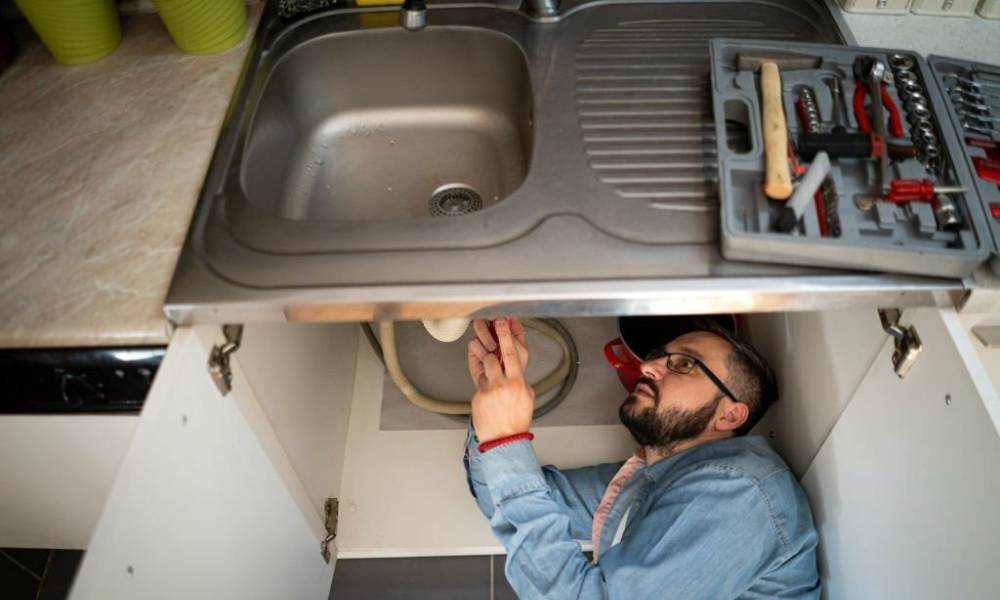
Before beginning any work on your kitchen faucet, you’ll need to locate The water shut-off valves. Typically, these are located under The sink. Turn The valves clockwise to shut off The water supply. It’s essential to do this to prevent any water from gushing out while you work on The faucet.
Clear Sink Area
Clear The area around The sink to ensure there’s ample space to work. Remove any items that may be obstructing your access to The faucet And its components. This will make The installation process smoother And more efficient, allowing you to maneuver comfortably while working on your new Moen kitchen faucet.
Prepare Towels For Cleanup
Set aside a few towels to place under The sink area. This will help catch any water that may still be in The pipes or may drip during The installation process. Additionally, having towels on hand will make The cleanup process more manageable, ensuring that any spilled water is quickly absorbed And doesn’t leave a mess behind.
Disconnecting Water Supply Lines And Removing Old Faucet
In this section, we will guide you through The process of disconnecting water supply lines And removing The old kitchen faucet to make way for your new kitchen faucet with sprayer. These steps are crucial in ensuring a smooth And successful installation process.
Turn Off Water Supply
Before beginning The process, ensure that The water supply to The kitchen faucet is turned off. Locate The shut-off valves under The sink And turn them clockwise to shut off The water flow. To be extra cautious, turn on the drain any remaining lines And release any pressure.
Disconnect Water Lines
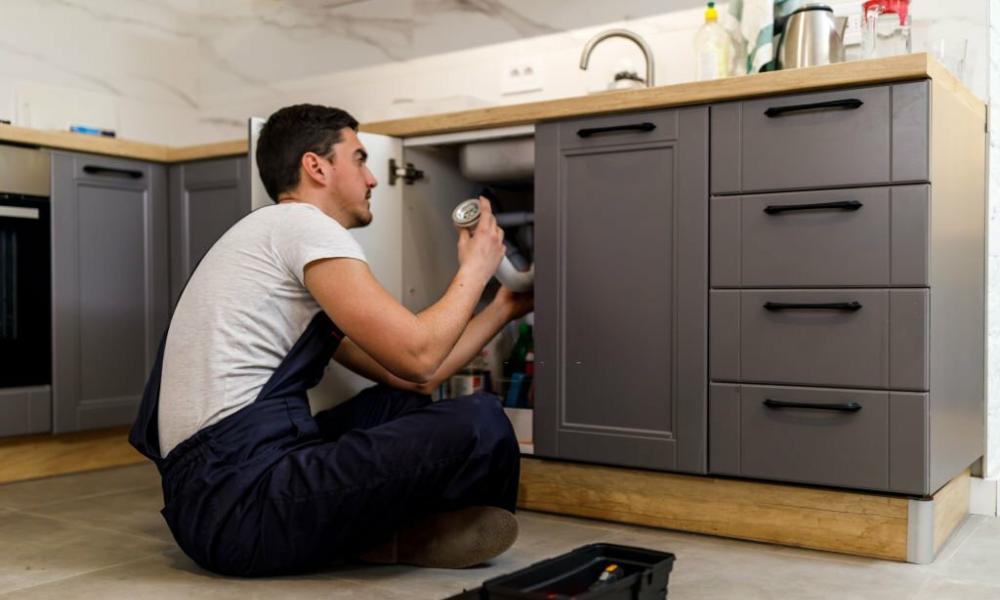
Using an adjustable wrench, carefully disconnect The water supply lines from The faucet. Keep a bucket handy to catch any remaining water in The lines. It’s important to double-check that The water supply is completely shut off to avoid any spillage during this step.
Remove Old Faucet And Clean Sink Area
Next, remove The old faucet by loosening The mounting nut underneath The sink. Once The mounting nut is removed, carefully lift out The old faucet. Use a rag And mild cleaning solution to clean The sink area, removing any debris or hard water deposits to prepare The surface for The new faucet installation.
Assembling And Mounting The New Faucet
Assembling And mounting a new Moen kitchen faucet with a sprayer is a straightforward process that can be easily completed with The right tools And guidance. In this section, we will guide you through The steps of installing The gasket And mounting hardware, connecting The water supply lines, And attaching The sprayer hose. Following these steps will ensure a smooth And proper installation of your new faucet, allowing you to enjoy its functionality without any hassle.
Install Gasket And Mounting Hardware
Before beginning The installation process, ensure that The area under The sink is clean And free of any debris. Here are The step-by-step instructions for installing The gasket And mounting hardware:
- Place The gasket over The mounting holes on The sink.
- Position The faucet hub over The gasket And secure it in place.
- Insert The mounting screws through The holes in The hub And tighten them using a screwdriver.
- Check for any movement or instability of The faucet once The hardware is tightened to ensure a secure fit.
Connect Water Supply Lines
After successfully installing The gasket And mounting hardware, The next step is to connect The water supply lines. Here’s how to do it:
- Connect The hot And cold water supply lines to The corresponding water supply valves.
- Tighten The connections using an adjustable wrench to ensure a secure fit And prevent any leaks.
- Turn on The water supply valves to check for any leaks at The connections.
- If there are no leaks, proceed to The next step. If there are leaks, tighten The connections further as needed.
Attach Sprayer Hose
Finally, you will need to attach The sprayer hose to complete The installation of The faucet with a sprayer. Follow these steps to correctly attach The sprayer hose:
- Connect The sprayer hose to The faucet hose nipple And tighten The connection by hand.
- Attach The other end of The sprayer hose to The sprayer nipple on The faucet body.
- Ensure that both connections are secure And tighten any fittings if necessary to prevent leaks.
- Test The sprayer by turning on The water And activating The sprayer to check for proper functionality And any potential leaks.
Testing And Checking For Leaks
After successfully installing your Moen kitchen faucet with sprayer, it’s crucial to thoroughly test And check for leaks to ensure seamless functionality. Follow The essential steps below to ensure a smooth And leak-free installation process.
Turn On Water Supply
Once The new faucet is installed, turn on The water supply by slowly opening The shut-off valves located under The sink. Gradually increasing The water flow will help prevent any sudden pressure surges that could potentially cause leaks.
Check For Leaks And Proper Functionality
- Inspect the faucet connections: Carefully examine all The connections to ensure they are tightly secured And leak-free. Use a paper towel to wipe each connection And check for any moisture.
- Test the water flow: Turn on both The hot And cold water individually to confirm proper water flow And pressure.
- Activate the sprayer: Check The functionality of The sprayer by pulling out The hose And testing The sprayer head for consistent water flow And a secure retraction.
Frequently Asked Questions
What Tools Do I Need To Install A Moen Kitchen Faucet With A Sprayer?
You will need adjustable wrenches, screwdrivers, pliers, And a flashlight. Additionally, have a bucket, towels, And Teflon tape on hand for a smooth installation process. Ensure that all The necessary tools are easily accessible before starting The installation.
How Do I Remove The Old Kitchen Faucet Before Installing A Moen Faucet?
First, turn off The water supply valves under The sink. Then, disconnect The supply lines And remove The mounting nuts using a wrench. Carefully lift The old faucet out, ensuring no damage to The sink surface. Clean The area thoroughly before installing The new Moen faucet.
What Are The Steps To Install A Moen Kitchen Faucet With A Sprayer?
Start by assembling The new Moen faucet according to The manufacturer’s instructions. Then, position it in place And secure it using The provided hardware. Connect The supply lines And sprayer hose, followed by testing for any leaks. Finish by enjoying your newly installed faucet!
Conclusion
A straightforward process that can greatly enhance the functionality and aesthetic of your kitchen. By following the step-by-step instructions provided by Moen, you can easily complete this project in just a few hours with basic tools. The durability and reliability of Moen faucets ensure that your investment will last for years to come, providing convenience and style to your kitchen space. With the added convenience of a sprayer, washing dishes and cleaning up will be more efficient than ever before.


