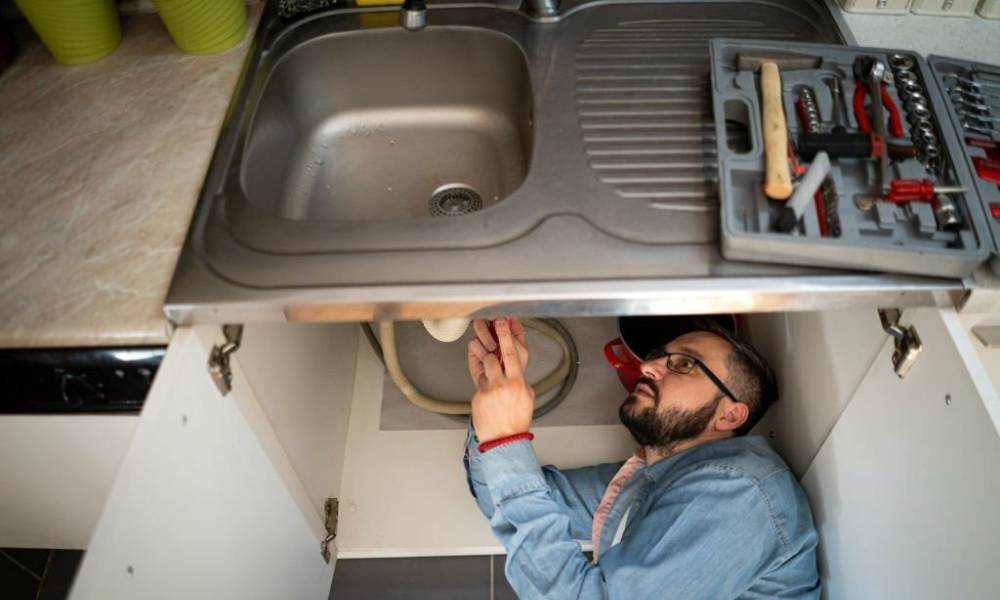
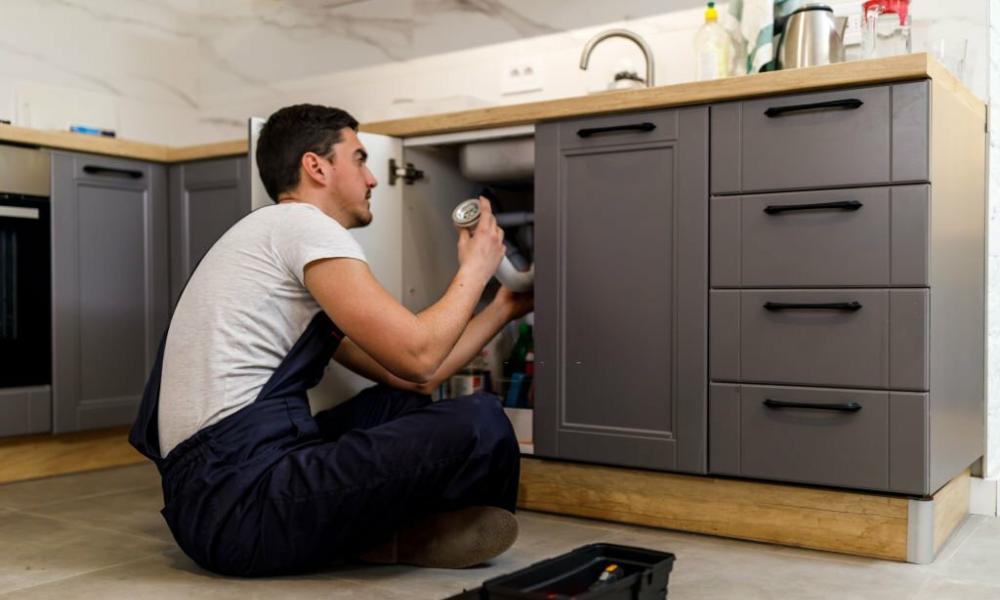
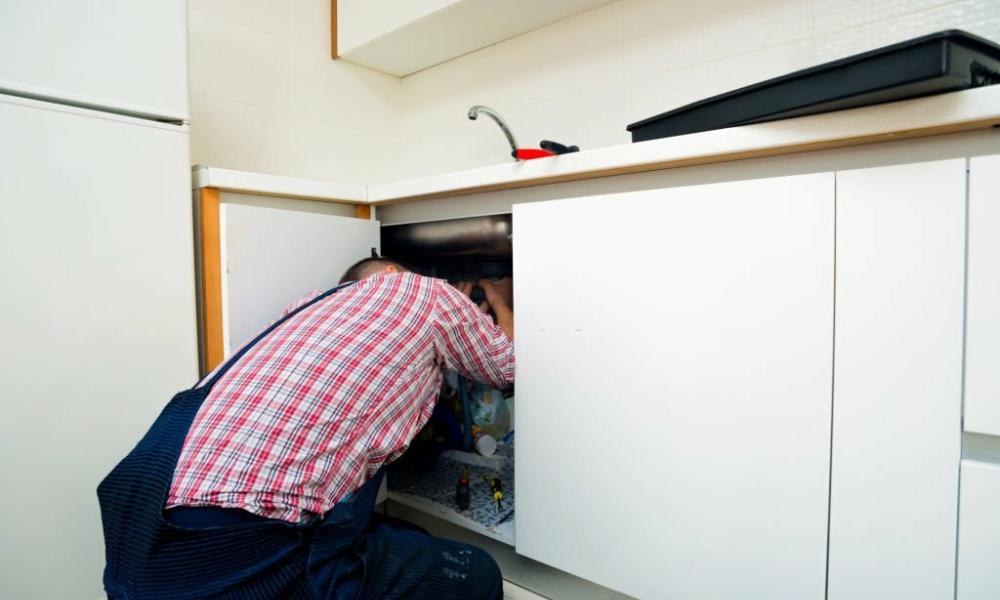
Embarking on the journey to install an undermount sink to granite countertops can transform your kitchen’s aesthetics and functionality. This guide meticulously outlines the essential steps, from selecting the right tools and materials, to ensuring a perfect seal between the sink and granite. With precision and careful attention to detail, you’ll navigate through drilling, securing, and sealing processes. Whether you’re a DIY enthusiast or seeking to understand the installation process, this tutorial promises to equip you with the knowledge to achieve a seamless and durable installation.
Why Choose an Undermount Sink for Your Granite Countertop?
Before we dive into the installation process, it’s essential to understand the appeal of an undermount sink. Unlike drop-in sinks, which are placed right on top of the countertop, under-mount sinks are mounted underneath the countertop, which creates a sleek and modern look that’s particularly well-suited to contemporary kitchen designs. With proper installation, under-mount sinks are less prone to leaks and easier to clean, making them a top choice for many homeowners and designers alike.
The Tools and Materials You’ll Need
Assembling the necessary tools and materials is the first step in any successful project. For an undermount sink installation on granite, you’ll need the following:
Tools
- Electric drill and bits
- Adjustable wrench
- Bucket
- Screwdrivers
- Jigsaw with carbide-tipped blade
- Safety glasses
- Clamps
- Caulking gun
- Paddle mixer
- Painter’s tape
- Level
- Pen or marker
Materials
- Undermount sink
- Sink clips
- Silicone caulk
- Supporting brackets
- Epoxy adhesive
- Isopropyl alcohol
- Clean cloth
- Masking tape
- Dense sponge
- Mild soap
- Water
By gathering these tools and materials beforehand, you’ll ensure that you can proceed smoothly through each step of the installation process.
Steps for Installing an Undermount Sink on Granite
Here are the detailed steps you need to follow for a successful under-mount that may be necessary to provide additional stability. Install these according to the manufacturer’s instructions. sink installation on granite.
Step 1: Pre-Installation Preparation
First off, turn off the water supply and disconnect the plumbing. Remove the old sink if necessary. Clean the countertop thoroughly with a mild detergent and water, and then wipe it dry with a clean towel.
Step 2: Create the Sink Cut-Out on the Granite
Use a template provided with the sink or create one by placing the sink upside down on the countertop and tracing the shape. Cut along this line with a jigsaw using a carbide-tipped blade specifically designed for cutting granite. Work slowly and steadily, ensuring a clean and accurate cut. Enlist the help of a friend to hold the cut-out piece as you complete the last few cuts to prevent it from falling and breaking.
Step 3: Dry-Fitting the Sink
With the opening made, dry-fit the sink inside the cut-out to check for fit. If the sink fits properly, proceed to the next step; if not, make any necessary adjustments.
Step 4: Attaching the Sink Clips
Turn the sink upside down and attach the sink clips to the flange. The number of clips will vary depending on the sink size and manufacturer. Ensure the clips are evenly spaced and check for a secure fit against the underside of the countertop.
Step 5: Apply the Silicone Caulk
Apply a liberal bead of the silicone caulk along the edge of the sink. Be thorough but avoid excess as this can be messy and difficult to clean. The caulk will create a watertight seal between the sink and the countertop.
Step 6: Positioning the Sink
Flip the sink over and place it into the cut-out. Press down firmly to set the sink in place, creating a tight seal with the caulk. Wipe away any excess caulk that squeezes out and ensure the sink is level in all directions.
Step 7: Securing the Sink with Clamps
Using clamps, secure the sink from below to hold it in place. Allow the caulk to cure for the recommended time by the manufacturer.
Step 8: Installing Supporting Brackets
For heavy or large sinks, especially those in double-basin configurations, supporting brackets
may be necessary to provide additional stability. Install these according to the manufacturer’s instructions.
Step 9: Final Adjustments and Cleanup
Once the sink is securely in place, reconnect the plumbing and turn on the water supply. Check for any leaks and make any final adjustments to the sink’s position. Clean the area thoroughly to remove any dust or debris from the installation process.
Tips and Troubleshooting
Aligning the Sink Properly
Alignment is key to a functional and aesthetic installation. Use the sink’s waste opening as a guide or measure from the countertop’s edge to ensure a uniform reveal.
Overcoming Challenges with Epoxy or Adhesives
Properly mixing and applying epoxy is crucial. Follow the instructions carefully, as incorrect mixing can lead to a weak bond.
Adjusting Bracket Placement
Brackets should be placed to evenly support the weight of the sink without impeding the plumbing. Use a level to ensure they are straight and adjust as necessary.
Checking for Leaks
After reconnecting the plumbing, run the water and check for leaks. Tighten any connections as needed and retest to ensure the issue is resolved.
Safety Precautions
Granite is a hard material that can produce fine dust when cut. To protect your respiratory system, wear a dust mask during the cutting process.
Wear Gloves and Eye Protection
To protect your hands and eyes from sharp edges and dust, wear work gloves and safety glasses at all times.
Work in a Well-Ventilated Area
Granite dust and epoxy fumes can be harmful if inhaled. Work in a properly ventilated area or use a dust collector during the cutting process.
Installation of an under-mount sink on a granite countertop can be a complex undertaking, But with the right tools, preparation, and approach, it’s a project within reach of most DIY enthusiasts. By following this guide, You’ll be well on your way to enjoying the fruits of your labor — a beautiful, functional kitchen upgrade that’s built to last.
With an array of professional insights and practical tips at your disposal, what once may have seemed daunting can now be approached with confidence. Make sure to take your time, consult the manufacturer’s instructions, and never hesitate to ask for help if you’re unsure. Happy renovating!
Conclusion
Successfully installing an undermount sink to granite countertops is a rewarding endeavor that enhances your kitchen’s functionality and visual appeal. By meticulously following the outlined steps—from preparation and positioning to securing and sealing—you’ve mastered the art of undermount sink installation. This achievement not only adds value to your home but also instills a sense of pride in your DIY skills. Remember, the key to a flawless finish lies in patience, precision, and the right tools. Welcome to the world of enhanced kitchen aesthetics!


