Have you ever walked into a room and felt a change in the air? That awesome shift often comes from something simple: paint. DIY wall painting is a trend and a powerful way to tell your story at home. Think about the last time you wanted to change a wall. It was not just about making your home look better. It was about refreshing your spirit and tapping into your creative side.
Just with a paintbrush and some color, you can transform your space. It brings joy and new energy. 75% of homeowners say paint color is key in how their home looks. This shows how you can change your home’s mood with thoughtful painting. Even if money is tight, painting can make a big difference. It’s a cheap and popular way to update your home. You can turn a dull room into a lively space that shows off who you are!
In this guide, we’ll help you master DIY wall painting. You’ll learn about many techniques and ideas to step up your home décor. From cool geometric shapes to fun sponge painting, there’s so much you can do. You’ll find that DIY painting is not only doable but also fun. It’s a chance to try different painting methods. These can make your living areas feel new again.
Key Takeaways
- Paint is a budget-friendly, powerful tool for updating your home.
- Choosing the right color is very important for your home’s look.
- DIY projects let you add a personal touch to your space.
- With simple techniques, any room can go from dull to stunning.
- Using creativity in painting can make you feel happier.
Introduction to DIY Wall Painting
Transforming your living space with DIY wall painting is a fulfilling way to upgrade your home. It refreshes your home’s look and is key in designing your space. By turning plain walls into colorful canvases, you express your creativity and personal style.
Starting out, you’ll need some basic supplies and the eagerness to learn. With a few tools and techniques, great results are within reach. High-quality paint, like Rust-Oleum Home Wall Paint, comes in 12 colors and three finishes, setting your project up for success. The Zinsser Bulls Eye 1-2-3 Primer dries quickly for easy layering.
A successful DIY painting project improves your home and hones your skills. With patience and care, you can achieve professional-looking walls that showcase your abilities.
| Product | Details |
|---|---|
| Rust-Oleum Home Wall Paint | 12 pre-mixed colors, 3 different sheens |
| Zinsser Bulls Eye 1-2-3 Primer | Dries to the touch in 30 minutes, can be recoated after 1 hour |
| Durability of Semi-Gloss Trim Paint | Recommended for high-traffic areas |
| Ideal Brush Size for Angling | 2-2.5 inches for optimal precision |
Benefits of DIY Wall Painting
DIY wall painting brings many benefits to your home. One major advantage is saving money. By painting walls yourself, you can save 30-50% compared to paying professionals. The savings mainly come from not having to pay for labor, allowing more spending on better paint and tools.
Aside from saving money, DIY painting gives a sense of pride. About 75% of people who do projects themselves feel very satisfied afterward. This happiness comes from making your space more personal. Creating your own designs not only makes your place unique but also lets you pick colors and styles you like.
Painting walls can also make you feel better. Picking certain colors can lift your mood by 30%. Many find painting a calming activity that reduces stress, with 70% painting to feel mentally better.
However, DIY painting has challenges. It requires skill to avoid mistakes like uneven paint. Professional painters guarantee quality that might be hard to match on your own. If you’re in a rush, hiring professionals might be smarter.
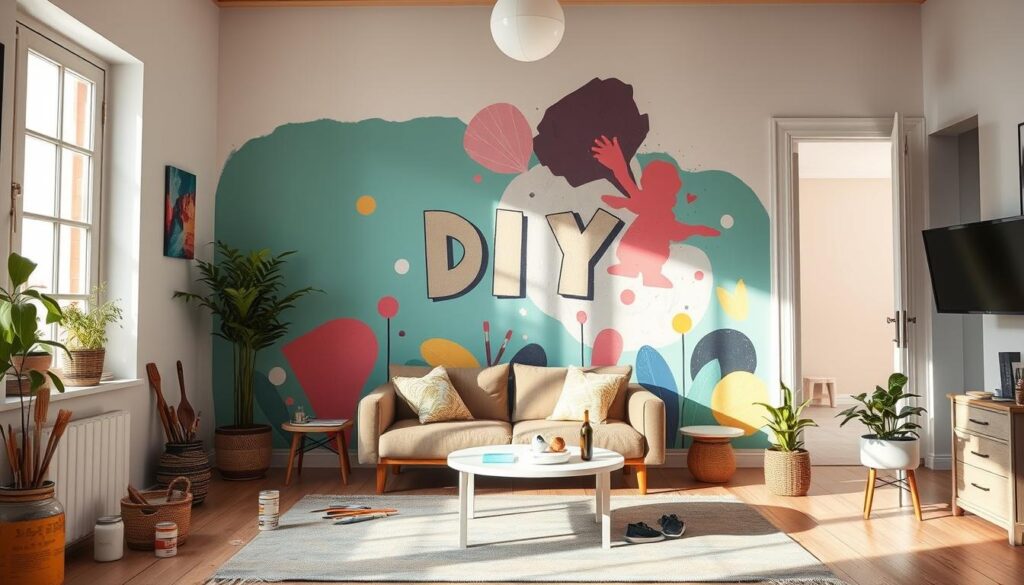
To sum up, DIY wall painting is not just about saving money. It’s a chance to express yourself, improve your home’s look, and find joy in the work you do.
Essential Materials for Wall Painting
When you plan to paint a wall yourself, knowing what you need is important. Choosing the right materials helps you get a professional look. Start with high-quality paint. Many types now include primer, saving money and covering 250 to 300 square feet per gallon.
It’s important to pick the right tools for painting. Use a 9-inch roller for big surfaces and a 4.5-inch one for trim and moldings. Microfiber rollers are best, giving great results, especially with low or no VOC paints.
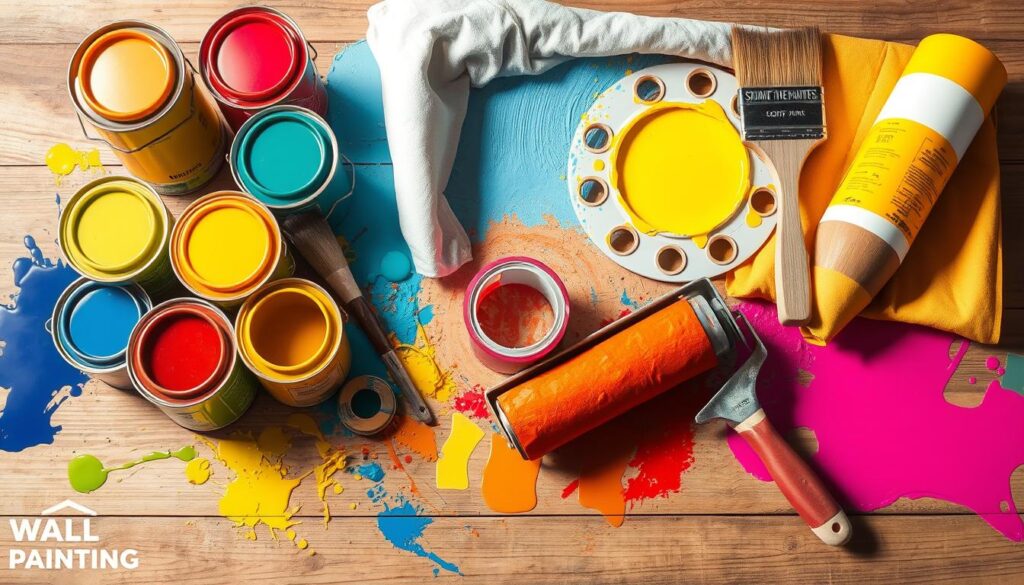
Don’t forget other essential tools like painter’s tape and cloths. Canvas cloths last longer and can be reused, while paper is cheaper but can rip easily. Use good tape to keep paint from bleeding and to get sharp lines. For big jobs, a paint sprayer can be more efficient, covering large areas quicker.
Here’s a table summarizing some critical wall painting supplies:
| Item | Description | Usage Tips |
|---|---|---|
| Paint (Acrylic or Latex) | Quick drying and water-resistant | Choose based on the size of your area; latex is cost-effective for large spaces. |
| Brushes | Various sizes for detail work | Clean with warm, soapy water for multiple uses. |
| Roller Frames | 9-inch for walls; 4.5-inch for trims | Use a ⅜-inch nap for smooth surfaces and ½-inch for textured areas. |
| Painter’s Tape | For marking off edges | Choose the right adhesion to avoid damage to surfaces. |
| Drop Cloths | Protection for floors and furniture | Canvas is reusable; paper tears easily but is economical. |
| Paint Sprayer | For large areas or quick jobs | Medium-duty sprayers are suitable for projects requiring 15 gallons or less. |
Getting ready and having the right materials makes wall painting enjoyable and rewarding. Always choose quality tools and supplies for the best final look.
How to Do Wall Painting Designs Yourself
Starting to paint walls is thrilling, especially with unique designs. First, pick out your colors carefully. Then, gather the right DIY painting tools for a smooth job.
Choosing the Right Color Scheme
Picking the right colors changes your room’s mood. Think about your decor and how light affects colors. Try paint samples at different times to see their true colors. If you switch from dark to light paint, you might need more coats. Add 10% more paint for rough surfaces to get a perfect finish.
Tools You Will Need
Before beginning, make sure you have these DIY painting tools ready:
- Paintbrushes (various sizes)
- Rolled paint applicators (3-inch recommended for consistency)
- Paint roller tray
- Drop cloths or plastic sheeting to protect surfaces
- Painter’s tape to create sharp edges
- Paint can opener and stirrer
- Primer (especially for darker colors)
- Paint bucket (5-gallon for larger projects)
- Sanding sponge for smooth finishes
- Deglosser for cleaning surfaces
| Tool | Purpose |
|---|---|
| Paintbrushes | Detailed work and corners |
| Rolled paint applicators | Even application over large surfaces |
| Drop cloths | Protection of floors & furniture |
| Painter’s tape | Creating clean lines and edges |
| Primer | Improves paint adhesion on new surfaces |

Plan well and have the right tools for a great wall painting project. Finishing it yourself brings joy and pride in your work. Have fun changing your spaces with color!
Inspirational Wall Painting Techniques
Wall painting techniques can make your space look fresh and unique. They let you add your personal touch. Try cerusing for a natural look; it shows off the wood’s grain in woods like chestnut and oak. To start, sand the wood with 120-grit paper for the best surface.
Color washing is a creative idea. It uses a glaze applied with a rag or sponge in circles. An eggshell finish keeps the glaze from soaking in too fast. You can mix colors for more depth, adding an artistic touch to your home.
Gold leafing creates a standout look. Prepping your surface well is key for a smooth, rich finish. Peel-and-stick gold leaf is simpler than traditional methods, making your walls look fabulous.
The ombré method, blending two colors smoothly, is popular for DIY projects. Each color should have its own brush to keep them clear. For fun vibes, add polka dots or checkerboard patterns. These designs are perfect for children’s rooms or playful areas.
| Technique | Description | Benefits |
|---|---|---|
| Cerusing | Highlights wood grain on porous species | Brings out natural beauty, adds texture |
| Color Washing | Applies glaze in circular movements | Adds depth, promotes visual interest |
| Gold Leafing | Utilizes thin leaves of gold on surfaces | Creates a luxurious finish, easy application |
| Ombré Effects | Seamlessly blends two colors | Unique visual appeal, modern touch |
| Decoupage | Applies decorative materials with a sealant | Personalized designs, fun crafting activity |
Using these painting techniques can transform your home and give you a happy feeling from doing it yourself. You can find a style that suits you and make your walls stunning and special.
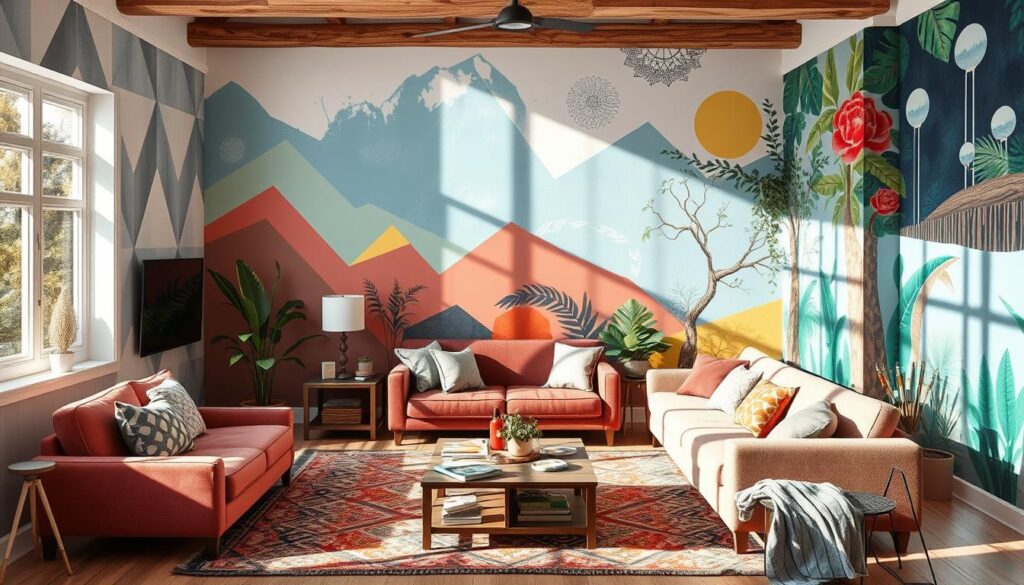
Easy DIY Wall Painting Ideas
Discovering simple wall painting ideas can make your home look new. The DIY sponge method brings texture and depth easily. The faux brick technique adds a cozy, rustic feel. And, for elegance, gold leaves offer a sophisticated touch.
Sponge Wall Technique
The DIY sponge method is easy and fun. You just need a few things to start. First, paint the wall with a base color and let it dry.
Then, put a different color on a dry sponge. Gently press it against the wall. This creates a cool texture.
Faux Brick Design
Faux brick painting is beginner-friendly, just like the sponge method. Begin with a base that looks like mortar and dry it.
Next, use a sponge and another color to dab on the brick pattern. This adds a trendy, rustic look with just a few paint shades.
Gold Leaves for a Touch of Elegance
Adding gold leaves can make your walls look rich. Choose a base color that matches gold.
After putting on adhesive and letting it dry, stick the gold leaves gently. This method makes any room shine with your personal touch.
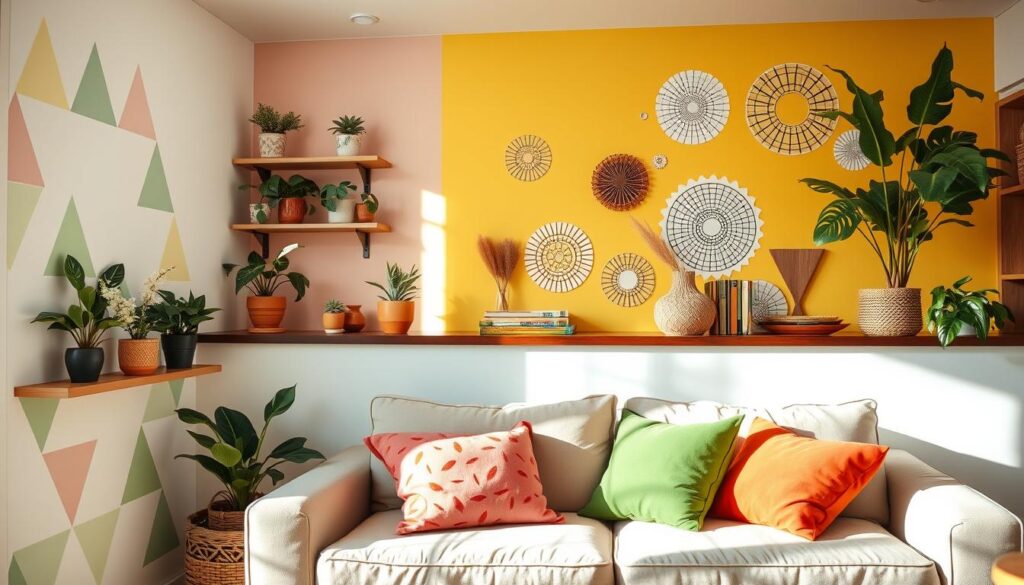
| Painting Technique | Ease of Implementation | Materials Needed | Final Effect |
|---|---|---|---|
| DIY Sponge Technique | Easy | Base color, sponge | Textured appearance |
| Faux Brick Design | Easy | Base color, sponge | Rustic brick look |
| Gold Leaves | Moderate | Base color, adhesive, gold leaves | Elegant shimmer |
Applying Creative Patterns to Your Walls
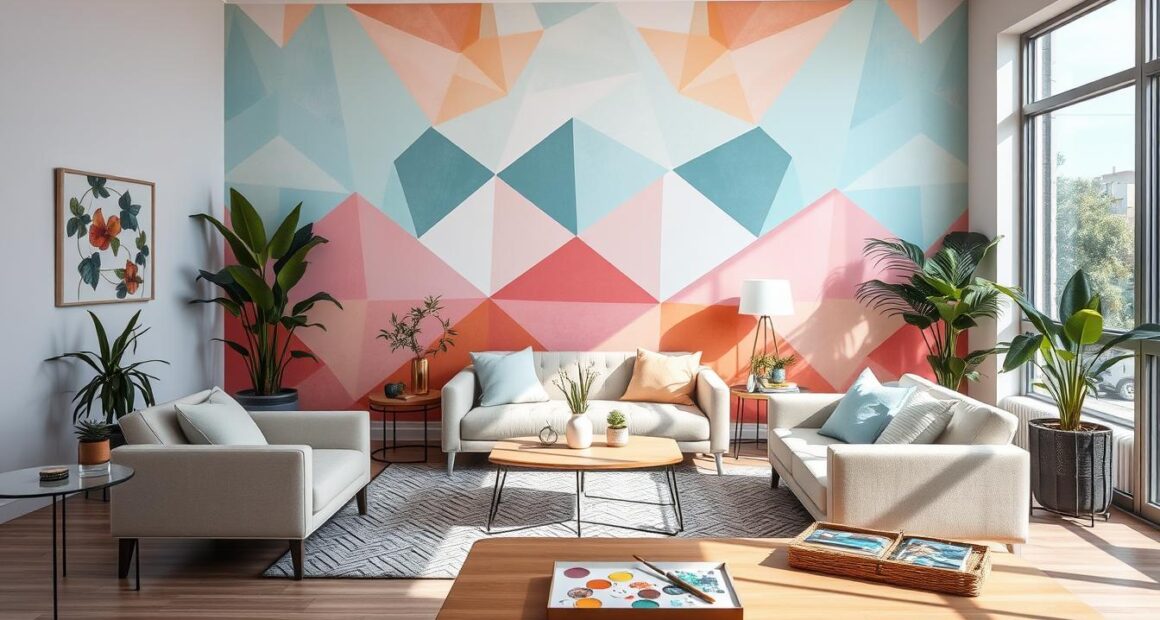
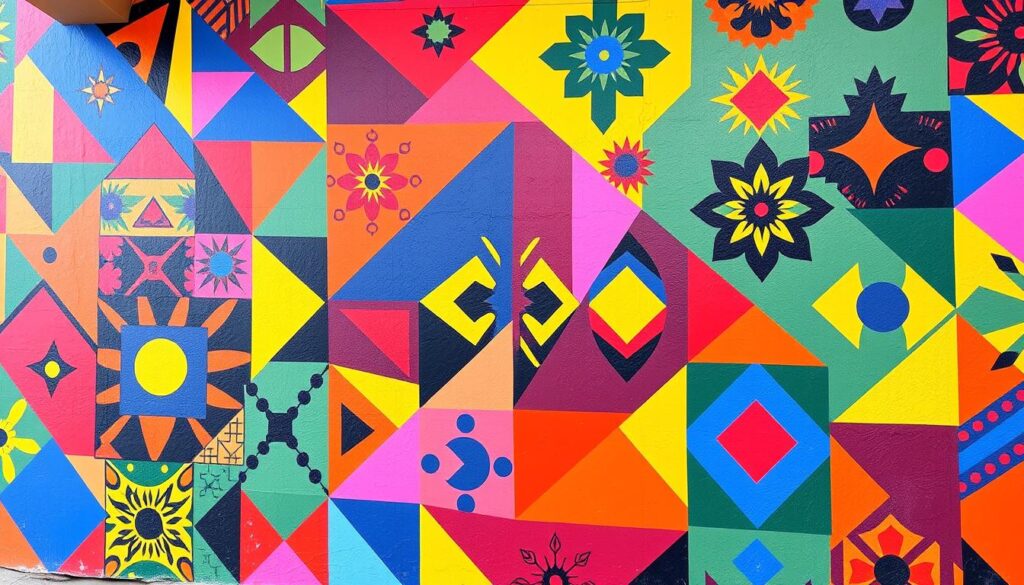
Adding creative patterns to your walls can really change the look and feel of a room. You can choose from different styles like geometric wall painting or abstract designs. Each method brings its own flair and lets you be creative, making your space truly special.
Geometric Shapes for a Modern Look
Geometric painting is great for a modern touch. Pick two contrasting paint colors, like a bright and a dark. Before starting, ensure the wall is ready and the base coat is completely dry, which takes around 15 minutes.
Creating geometric patterns takes care. Spend an hour planning your design with the help of family for fun. After painting your shapes, let them dry for about 30 minutes. Using 1-inch wide painter’s tape helps get those perfect lines.
Abstract Shapes to Make Bold Statements
Abstract designs offer freedom to experiment with shapes and colors. They don’t have strict rules. Remember to let the paint dry properly, sometimes even requiring two layers, to get an eye-catching look.
Consider using premium paints like Impressions HD 24 Carat for your abstract pieces. Waiting a bit after the final coat before removing the tape ensures crisp, bright lines. This method lets you mix unexpected colors and shapes, bringing energy to any space.
| Technique | Color Choice | Time Required | Key Tool |
|---|---|---|---|
| Geometric Shapes | Light & Dark Contrast | 1 Hour for marking, 30 min per coat | Painter’s Tape |
| Abstract Shapes | Varied Vibrant Colors | Variable based on design | High-Definition Paint Products |
Exploring geometric and abstract painting can bring out stunning walls that show your style. They offer a fun way to update your home and stand out.
Whimsical and Fun Wall Designs
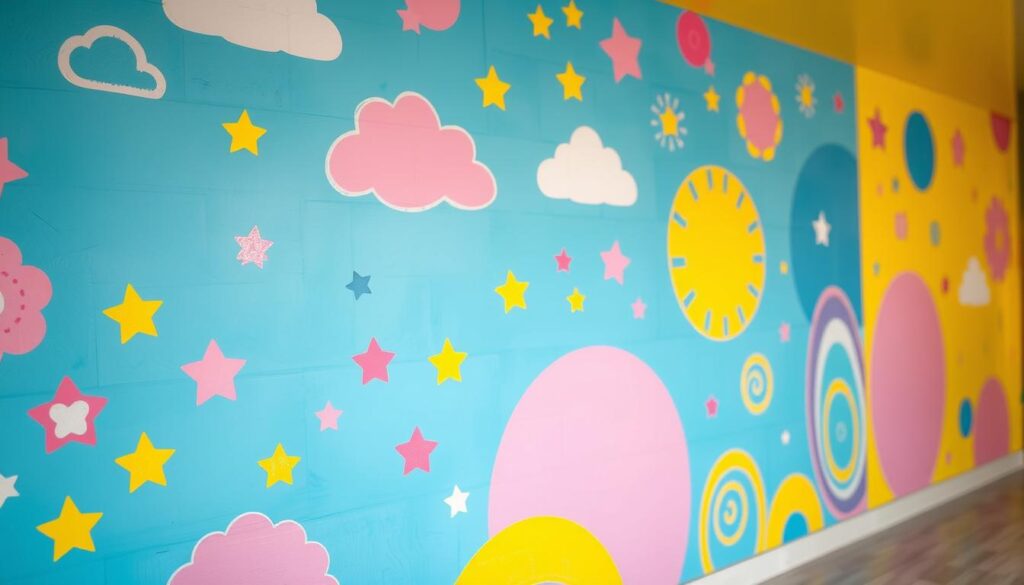
Adding fun to your home is easy with whimsical wall designs. They make spaces, especially kids’ rooms, really pop. You can choose between Mountain Murals and Rainbow Drippy Walls. Both are great for making kids’ rooms feel creative and joyful.
Mountain Murals for a Natural Feel
Mountain murals bring a calm, nature vibe. You can go simple with just shapes or detailed with scenes of outdoor adventures. Adding trees, clouds, and animals makes it feel more alive.
- Engage children’s imagination by introducing fantasy themes like magical creatures amidst the mountains.
- Choose soothing colors such as green and blue to instill peace and tranquility.
- Use larger wall spaces to feature expansive mountain ranges for a dramatic look.
Rainbow Drippy Walls for Vibrancy
Rainbow drippy walls are really bright and fun. This technique brings energy and sparks creativity. It’s perfect for making a room happier.
| Color | Emotion | Effect |
|---|---|---|
| Red | Energy | Stimulates excitement |
| Blue | Calm | Provides relaxation |
| Yellow | Happiness | Encourages positivity |
| Green | Balance | Creates harmony |
Combining bold colors with a drip effect creates a happy space. Bright colors can make rooms feel bigger and more inviting.
Unique and Non-Traditional Painting Techniques
Exploring non-traditional wall painting techniques can make your home more creative. These methods let you experiment with unique textures and effects. You can try polka dots for texture or the elegant ombre design for soft transitions. These techniques let your space show off your personality.
Polka Dots with Unique Textures
Polka dots can be more than simple spots. Using unusual tools like cotton buds or the blunt end of a brush can create unique patterns. By varying sizes and colors, you can add depth to your walls. This makes your walls playful and sophisticated at the same time.
Ombre Effects for Soft Transitions
An ombre wall design blends colors smoothly, making your room feel soothing. It’s great for beginners. Start with one color at the top and softly change to another. Use a brush or sponge to blend. Adding multiple colors creates a beautiful gradient. This enriches your space without being too much.

Creating Accent Walls with Paint
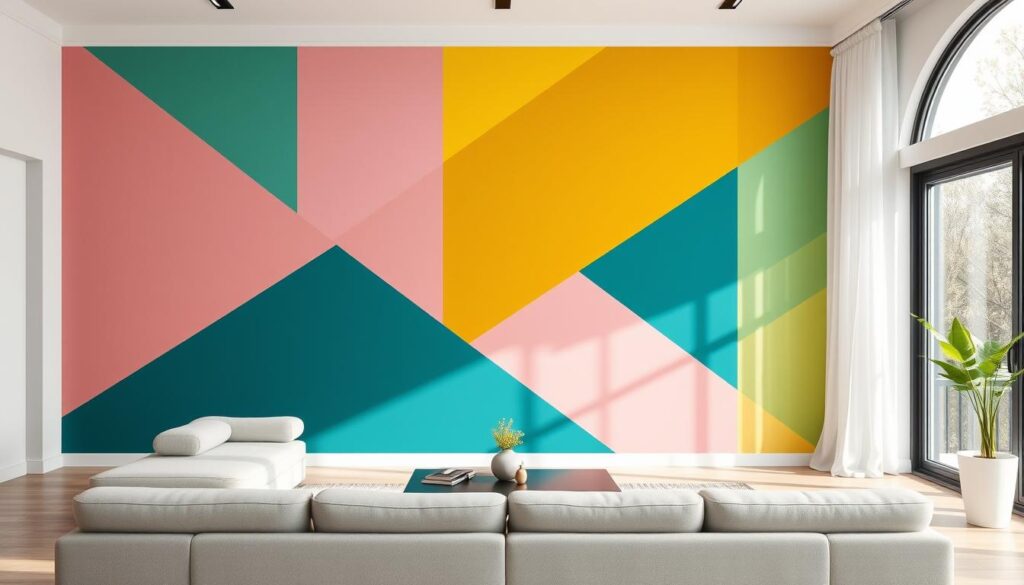
Accent walls can make a room pop. They provide a striking point that enhances your decor. Using color block painting and playful wall ideas, you can tailor unique experiences to your space. Accent walls are versatile. They can fit any style, whether bold or calm.
Color Block Accent Walls
Color block painting makes walls stand out. Start by picking two or three colors that match your style. Think about your wall size; small areas need less paint than big ones. You’ll mostly need two coats of paint, especially for dark colors. Choose a main wall for this, like the one behind your sofa.
- Cost of a quart of paint ranges from $15-$35.
- A gallon of paint typically starts at $25.
- Sherwin Williams offers sales that may provide discounts.
- Using low-sheen paints like eggshell ensures ease of cleaning.
Handwriting Statement Walls
Handwriting statement walls add a personal touch to your space. Choose a main wall and a bold color. Write your favorite quotes or motivational phrases. It’s an easy DIY project, taking less than an hour. The Wagner Smart Roller helps paint with less mess. For more impact, pick a contrasting color for the text.
| Project Type | Time Required | Cost Range | Recommended Tools |
|---|---|---|---|
| Color Block Accent Wall | Weekend project | $15-$35 per quart, starting at $25 per gallon | Wagner Smart Roller |
| Handwriting Statement Wall | Under 1 hour | $15-$35 per quart, starting at $25 per gallon | Wagner Smart Roller |
Using accent walls like color block painting and statement ideas improves your space. It also shows off your personality. With easy techniques and budget-friendly materials, making a big impact is easy. Dive in and let your walls reflect your unique story!
Using Stencils for Detailed Designs
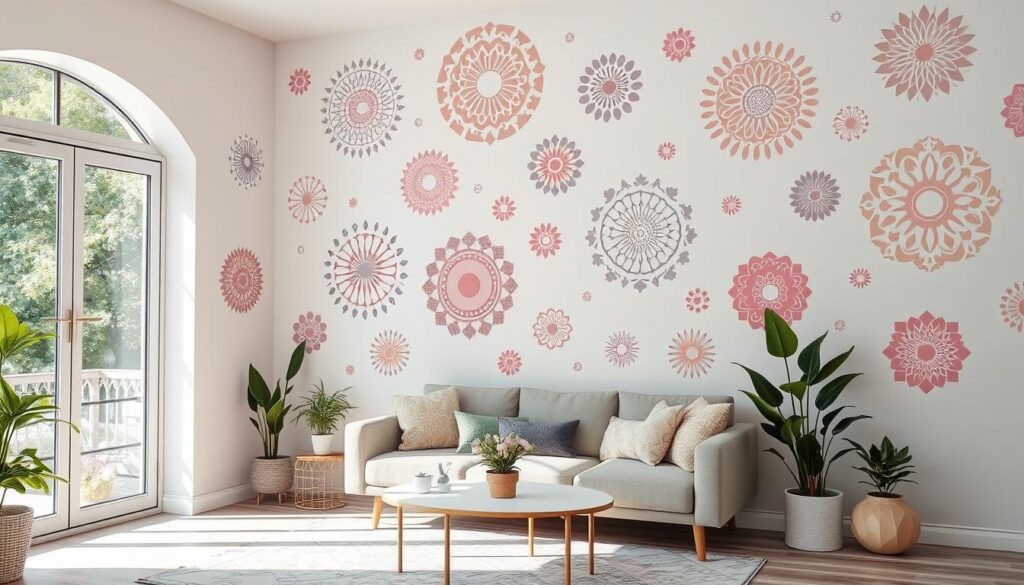
Stencils can make your wall look amazing. They are perfect for anyone who likes to do things themselves or artists. With the right tools, you can make magical designs that make any room look better.
Stenciling a wall might take around 14 hours. It depends on how complex your design is. For good results, use the Donatella Damask Stencil with a white or aqua base. Put on a thin coat of paint with a roller. Remember to add more paint to the roller 2-3 times for the best coverage. The paint dries fast, in about 1-2 minutes, so you can keep moving quickly.
DIY stenciling is easy on your wallet. You can spend up to 50% less than if you hired professional painters. The costs are usually $2 to $6 for each square foot. Stencils also use less paint, cutting down waste by about 30%. Remember to get rid of extra paint before applying it to avoid messy edges.
For more precise designs, use registration marks when stenciling. This makes lining up the patterns much easier. It can improve the accuracy by 25% compared to doing it by hand. Making an accent wall or a full mural can really change how your home looks and feels.
| Stencil Project Details | Information |
|---|---|
| Time Required | 14 hours |
| Stencil Used | Donatella Damask Stencil |
| Base Color Options | White, Aqua |
| Paint Layer Thickness | Very thin layer |
| Frequency of Roller Refills | 2-3 times per stencil |
| Drying Time Between Stencils | 1-2 minutes |
| Cost for 8′ x 12′ Wall | $200 (peel and stick wallpaper) |
| Amount of Base Coat Used | Less than half a gallon |
| Recommended Paint Sizes | 8 oz sample sizes or acrylic bottles |
| Average Stenciling Time for Accent Wall | 2-3 hours |
Stencils not only make your home prettier but they’re also a smart choice for decorating walls. Have fun making your rooms look exactly how you want with stencil art.
Prepping Your Walls for Painting Success
Effective DIY painting prep is the key to a successful wall painting project. Start by cleaning your walls well. This removes dust, dirt, and grease for perfect paint sticking.
Then, use a good primer on your walls. This helps get even paint coverage, which is great when changing colors. Fill any holes with spackle and sand them smooth. This makes your walls look their best.
A top painting tip is using tape on the edges. Many choose ScotchBlue Painter’s Tape or Frogtape for this. Frogtape might cost more, but it’s better at stopping paint from seeping under.
When adding designs, start marking from the ceiling down. This method helps make the bottom stripe look thicker. Always pull off the tape while the paint is still wet. This trick avoids the tape from sticking too much.
| Step | Details |
|---|---|
| 1. Clean | Remove dust, dirt, and grease for better paint adhesion. |
| 2. Fill Holes | Use spackle to fill imperfections, then sand for smoothness. |
| 3. Prime | Apply primer for even color coverage, especially when switching hues. |
| 4. Tape | Use quality painter’s tape to protect edges and minimize bleed-through. |
| 5. Measure & Mark | Measure from the ceiling for stripe designs; allows for thicker base stripes. |
| 6. Remove Tape | Take off tape while paint is wet to prevent sticking issues. |

Follow these steps for top-notch wall prep. With the right techniques, you’ll make your space look amazing. Your hard work will show in the polished look you achieve.
Conclusion
This DIY painting guide showed how to change your space with wall painting. You learned to be creative and follow key tips. This will make your home look better and feel more like it’s truly yours. Using colors like the 2024 Colour of the Year, ‘Cracked Pepper’ by Behr, brings everything together nicely.
Preparation is super important. Make sure to check your walls and use primer for the best look. Light colors can make small rooms seem bigger, and dark colors add depth. Always try out colors in different lights to see what looks best.
DIY wall painting is a great way to save money and have fun decorating. With the right tools and a little effort, you can quickly see amazing results. It’s a chance to show your unique style and enjoy seeing your space transform.
