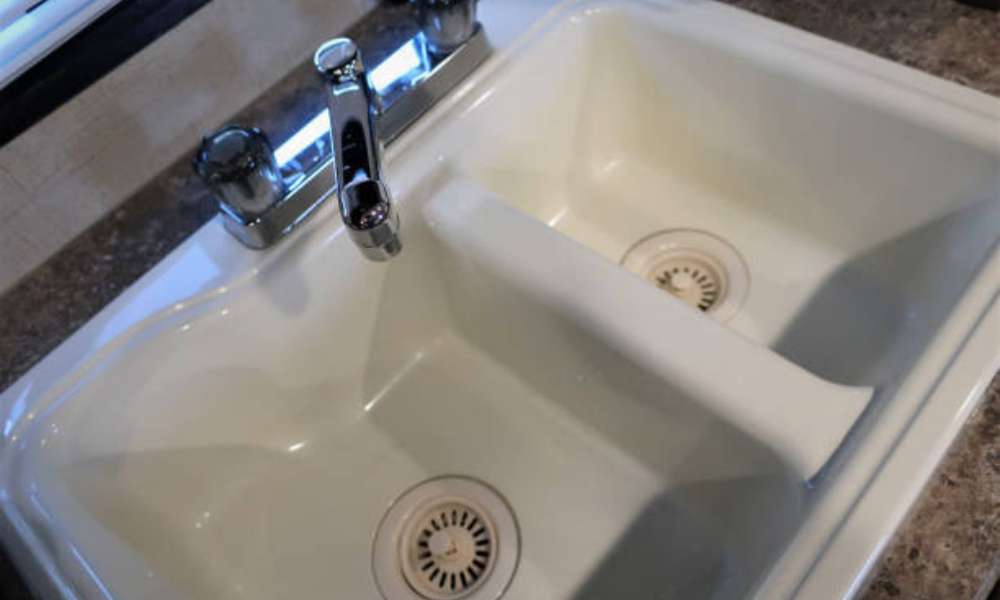
To repair a large chip in a porcelain sink, you will need a porcelain repair kit that includes epoxy resin and hardener. Clean and dry the damaged area before applying the filler, following the instructions provided in the repair kit.
It’s important to act quickly to prevent further damage to the sink and ensure a seamless repair. Porcelain sinks are durable and elegant fixtures in any bathroom or kitchen. However, accidents like dropping heavy objects or impact from hard items can lead to unsightly chips on the sink’s surface.
Fortunately, repairing a large chip in a porcelain sink is possible with the right tools and technique. In this guide, we will discuss practical steps to help you restore your porcelain sink to its original condition, ensuring a smooth and flawless repair. By following these steps, you can effectively repair the chip, extending the life of your porcelain sink and maintaining the aesthetic appeal of your space.
Assessing The Damage
Assessing the damage is the first crucial step in repairing a large chip in a porcelain sink. Properly understanding the extent of the chip and the type of porcelain sink you have will determine the repair method and materials needed. In this guide, we will walk through the process of assessing the damage to effectively repair your porcelain sink.
Identifying The Size And Depth Of The Chip
One of the first things you need to do when assessing the damage to your porcelain sink is to identify the size and depth of the chip. This can be done by visually inspecting the chip and carefully running your hand over the damaged area to feel for any noticeable depth. Use a tape measure to measure the length, width, and depth of the chip, noting down the dimensions for reference. This information will help you determine the level of repair needed and the appropriate materials to use.
Understanding The Material And Finish Of The Porcelain Sink
Understanding the material and finish of your porcelain sink is essential in determining the appropriate repair method. Porcelain sinks come in different materials such as ceramic, fireclay, and vitreous china, each with its own unique properties. Additionally, the finish of the sink, whether it’s glossy or matte, will impact the repair process and the blending of the repair material with the existing finish. Take note of the manufacturer’s information or look for any identifying marks on the sink to determine the material and finish, as this will guide you in selecting the right repair products and techniques.
Gathering Necessary Materials And Tools
When it comes to repairing a large chip in a porcelain sink, gathering the necessary materials and tools is the first step toward a successful repair. Having the right supplies at your disposal ensures that you can complete the job effectively. Additionally, considering additional optional tools can lead to better results and a more seamless repair process.
List Of Essential Repair Supplies
Before you start the repair process, it’s essential to have the following supplies on hand to effectively fix the large chip in your porcelain sink:
- Epoxy Repair Kit: Look for an epoxy repair kit specifically designed for porcelain surfaces. Ensure that it includes both the epoxy filler and a hardener for a durable fix.
- Sandpaper: Fine-grit sandpaper, such as 220-grit, is necessary for smoothing the repaired area and blending it with the rest of the sink.
- Disposable Gloves: Wearing gloves will protect your hands from the epoxy and aid in keeping the repair clean.
- Clean Cloth: A soft, clean cloth is essential for wiping down the sink before and after the repair process.
- Protective Mask: A respirator mask or dust mask is crucial for minimizing the inhalation of any epoxy fumes during the repair.
Exploring Additional Optional Tools For Better Results
In addition to the essential supplies, several optional tools can improve the overall quality of the repair:
- Clamps or Tape: Using clamps or tape to secure any loose or chipped pieces in place before applying the epoxy can result in a more structurally sound repair.
- Toothpicks or Small Brush: These tools can aid in applying the epoxy precisely and ensuring it reaches all areas of the chip.
- Color Matching Kit: Investing in a color matching kit can help you blend the epoxy filler with your sink’s existing color for a seamless finish.
- Polishing Compound: A polishing compound can be used to buff the repaired area, further enhancing its aesthetic appeal and blending it with the rest of the sink.
- Clear Sealant: Applying a clear sealant after the repair can provide extra protection and ensure the longevity of the fix.
Preparing The Surface For Repair
Preparing the surface for repair is a crucial first step in addressing a large chip in a porcelain sink. Properly prepping the damaged area ensures a successful and long-lasting repair. In this section, we will explore the essential steps involved in preparing the surface for repair, including cleaning the chipped area and sanding the edges to ensure a seamless application of the repair material.
Cleaning The Chipped Area
The first step in preparing the surface for repair is to thoroughly clean the chipped area. This can be done using a mild detergent and water. Ensure that the area is completely free of any dirt, grease, or debris. Rinse the area with clean water and allow it to dry completely before proceeding with the repair.
Sanding The Edges To Ensure Smooth Application Of Repair Material
After the chipped area is clean and dry, the next step is to carefully sand the edges of the chip. Use a fine-grit sandpaper to gently smooth out any rough edges around the chipped area. This step is essential for creating a smooth surface for the repair material to adhere to. Be sure to remove any loose or jagged pieces around the chip to ensure a seamless repair.
Applying The Repair Material
Once the chip has been properly cleaned and prepared, it’s time to apply the repair material to restore your porcelain sink to its former glory. This process involves carefully filling the chip with epoxy or porcelain repair compound, followed by smoothing and leveling the applied material to seamlessly blend with the sink surface.
Filling The Chip With Epoxy Or Porcelain Repair Compound
Begin by mixing the epoxy or porcelain repair compound according to the manufacturer’s instructions. Ensure that the mixture has a smooth and uniform consistency to facilitate easy application. Using a small putty knife or spatula, carefully fill the chip with the prepared material. Ensuring that it fills the damaged area without leaving any gaps. Apply the compound in layers, if necessary, allowing each layer to dry completely before adding the next to build up the proper thickness.
Smoothing And Leveling The Applied Material To Match The Sink Surface
Once the filled chip has cured, it’s time to smooth and level the repair material to match the surrounding sink surface. Use fine-grit sandpaper or a sanding block to carefully smooth the repaired area. Take your time to ensure that the repaired section is even and level with the rest of the sink. Wipe away any dust and debris to check the progress. And continue sanding if necessary, until the surface is seamless and smooth to the touch. Additionally, a polishing compound may be used to further blend the repaired area with the rest of the sink for a flawless finish.
Finishing Touches And Maintenance
After successfully repairing a large chip in your porcelain sink. It’s crucial to focus on the finishing touches and ongoing maintenance to ensure the longevity of the repaired area. These steps are essential in maintaining the aesthetic appeal and functionality of your sink. Let’s dive into the details of sanding and polishing the repaired area as well as valuable tips for maintaining your newly repaired porcelain sink.
Sanding And Polishing The Repaired Area
To achieve a seamless finish, begin by gently sanding the repaired area using fine-grit sandpaper. This will help to level out any unevenness and create a smooth surface. After sanding, use a polishing compound specifically designed for porcelain surfaces. Apply the compound in circular motions with a soft cloth, gradually restoring the shine and luster to the repaired portion of the sink. Regularly inspect the area to ensure a consistent and polished finish.
Tips For Maintaining The Newly Repaired Porcelain Sink
- Use gentle, non-abrasive cleaners to keep the repaired area and the entire sink looking pristine. Avoid harsh chemicals or abrasive scrubbing materials.
- Promptly clean up any spills or stains to prevent discoloration and maintain the appearance of your sink.
- Periodically apply a protective sealant to the repaired area to safeguard against future damage and ensure long-lasting results.
- Avoid dropping heavy objects or banging hard items against the repaired area to prevent chips or cracks from forming again.
- Regularly inspect and address any small chips or imperfections promptly before they escalate into larger issues that require repairs.
- Consider using a sink grid or mat to protect the sink’s surface and minimize the risk of potential damage.
The content is clear, and concise, and provides valuable information for readers looking to maintain and care for their repaired porcelain sink.
Frequently Asked Questions
How To Prevent Large Chips In A Porcelain Sink?
To prevent large chips, avoid dropping heavy objects and use protective sink mats.
What Is The Best Way To Repair A Large Chip In A Porcelain Sink?
The best way is to use a porcelain touch-up kit for small chips. For large chips, consider professional repair services.
Can I Use My Porcelain Sink After Repairing A Large Chip?
Yes, but wait for the recommended curing time before using the sink. Always follow the manufacturer’s instructions for best results.
Conclusion
Repairing a large chip in a porcelain sink is feasible with the right materials and methods. By following the step-by-step guide provided in this blog post, you can easily restore the sink’s appearance and functionality. With these effective techniques, you can save money on costly replacements and maintain the beauty of your sink for years to come.


